Custom Blocks
What is a Custom Block?
Custom blocks allow host applications to define and provide reusable design components for their end-users. These blocks can be pre-designed by your team and then made available for users to drag and drop into their designs, ensuring consistent branding and efficient content creation. Custom blocks can include a variety of elements such as text, images, buttons, and more.

How Custom Blocks Work
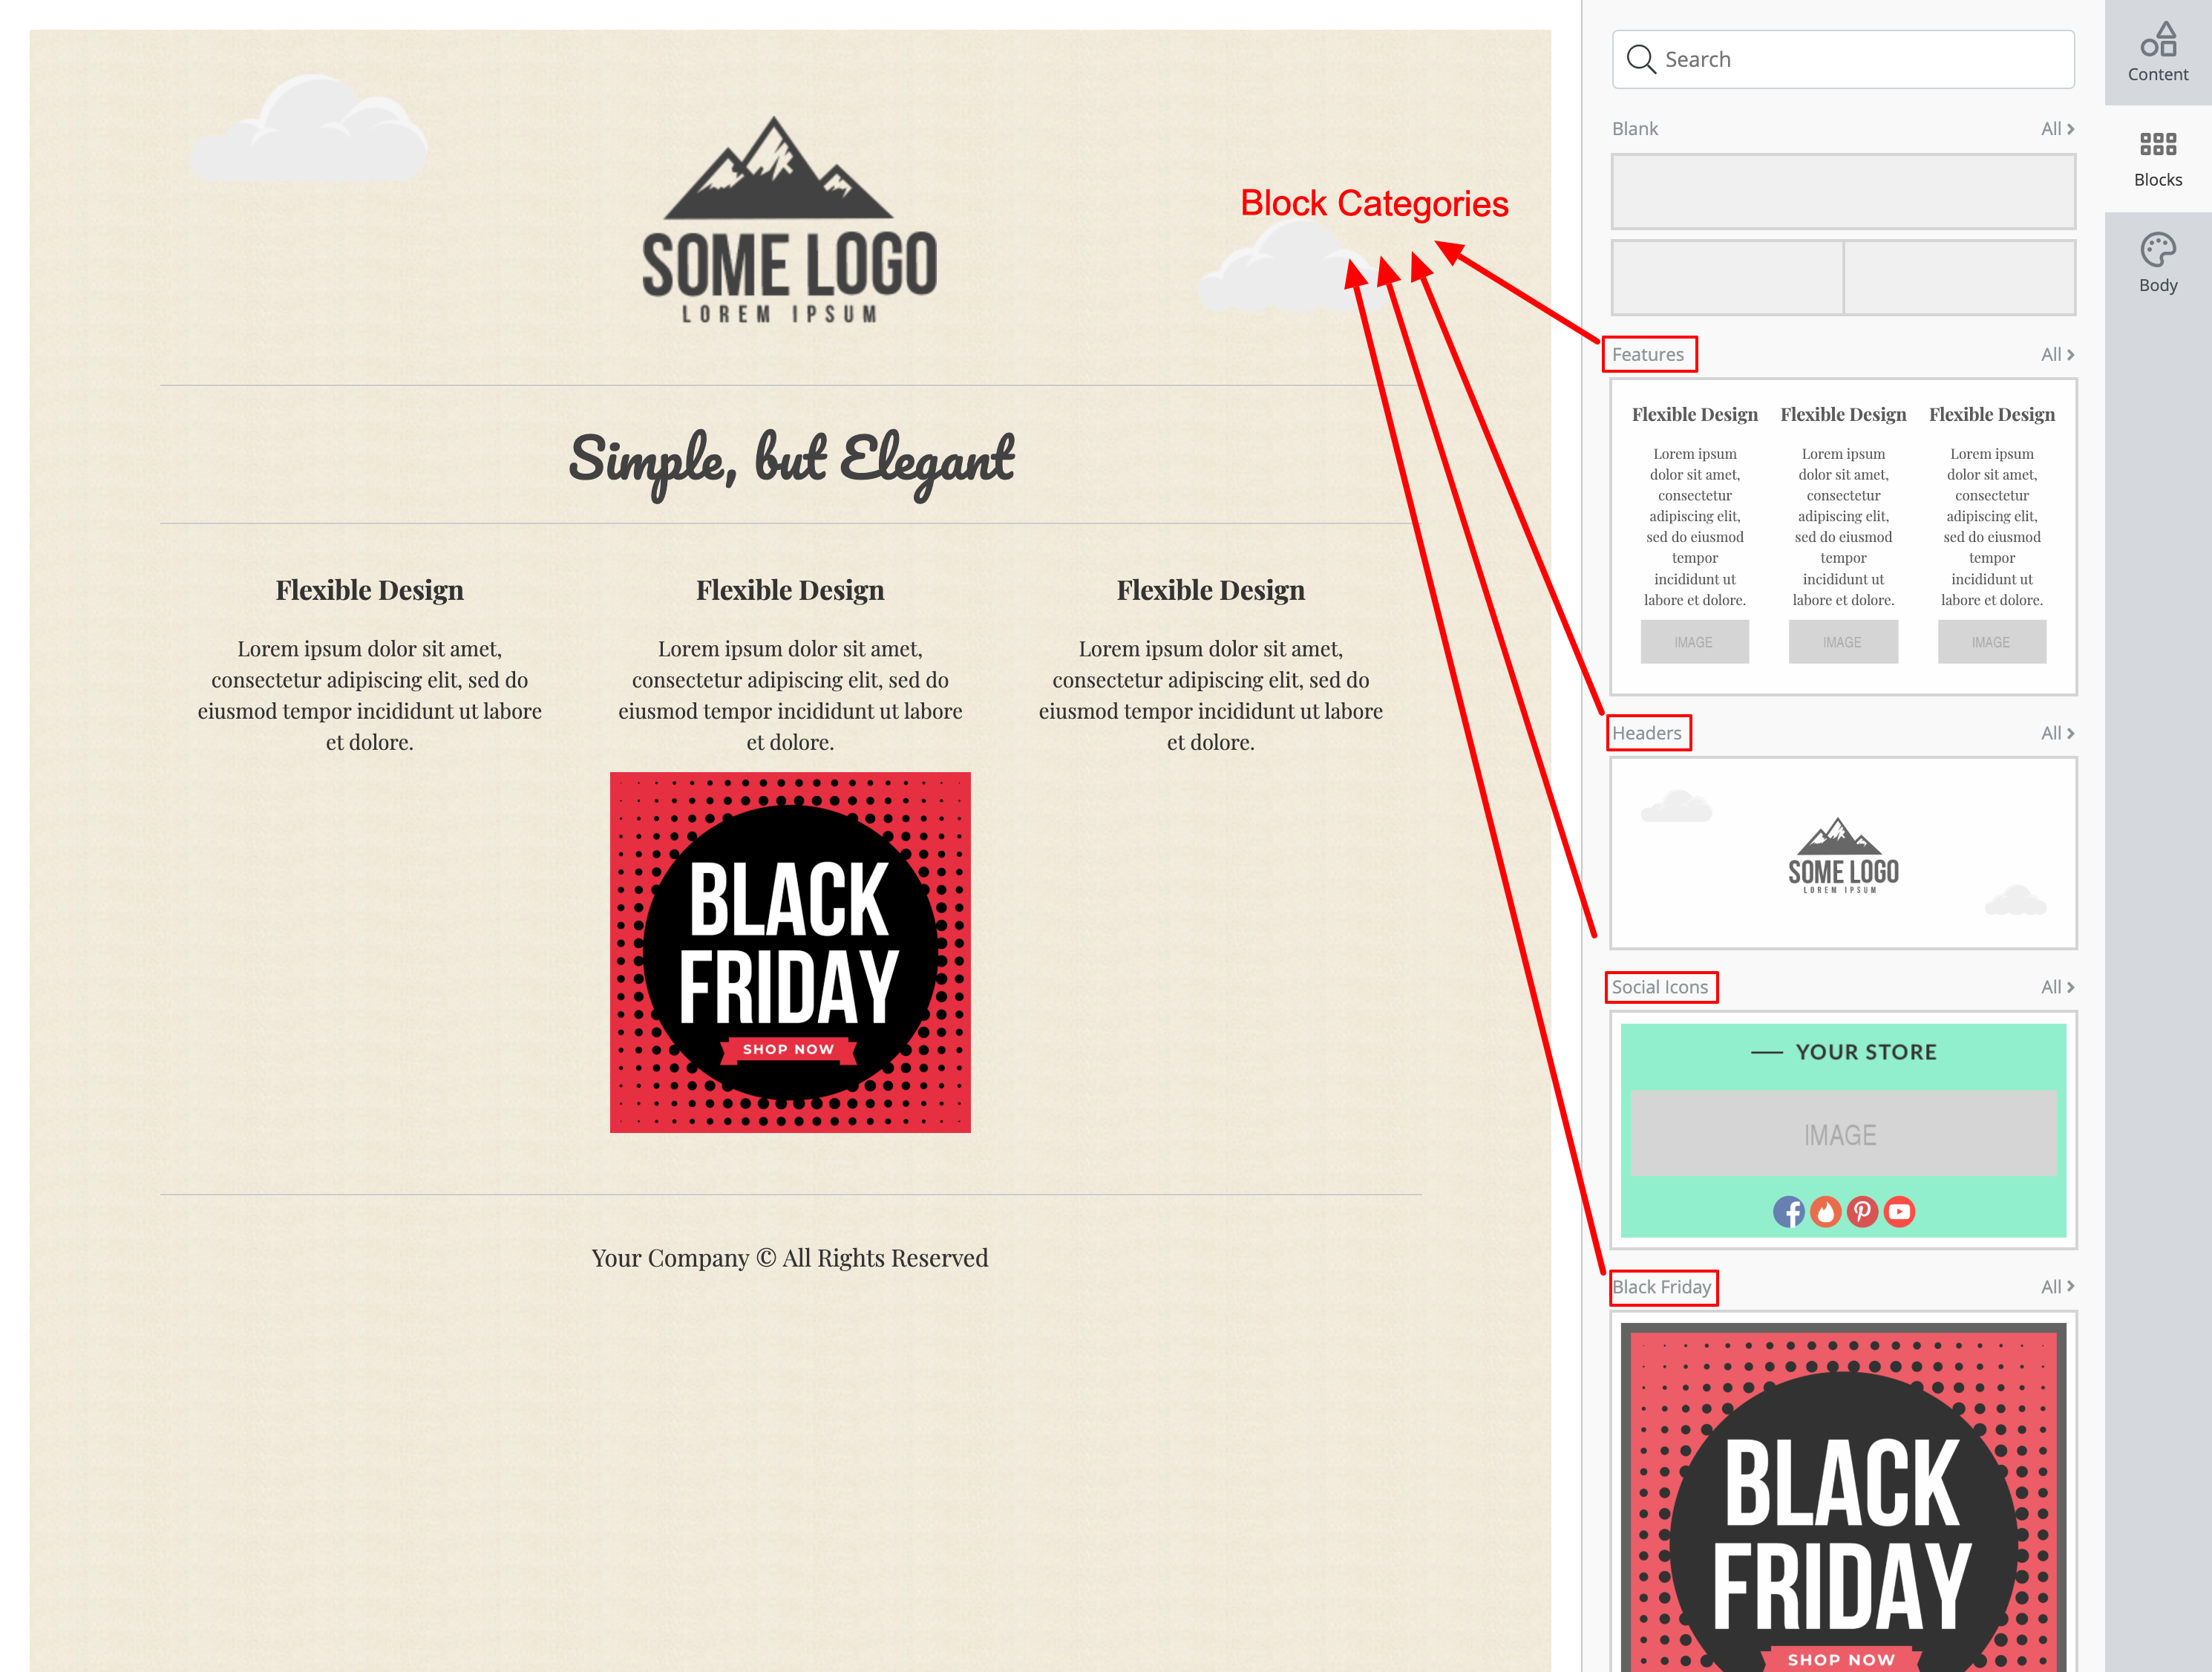
Custom blocks are flexible components that can be reused across multiple designs or templates. These blocks can be built with any available tools. These blocks are stored and displayed under the Blocks tab in the builder, ready to be dragged into new designs.
Each custom block is created with the following information to make it easier to navigate and search the blocks tab.
Block Category
All blocks are organized under a category. This helps users find different blocks easily. For example: Headers, Footers, Features, etc.
Block Tags
Each block can have comma-separated tags which are searchable and make it easier for users to filter and find different blocks.
Enable or Disable
By default, custom blocks are enabled in the builder. However, developers can control whether custom blocks are available using the following.
unlayer.init({
  features: {
    blocks: false, // Disables custom blocks
  },
});
This example disables the availability of custom blocks in the editor. However, this does not hide the Blocks tab. You can do that using Tab Management.
Creating a Custom Block
There are 2 ways to create and load custom blocks.
Console
This is the quickest way to create tons of custom blocks. They are stored on our servers, and automatically loaded when you initialize the editor with the correct projectId.
- Open Unlayer Console.
- Go to your Project. If you don't have one, create a new one.
- Go to the Blocks menu under Library.
- Click New Block
- Fill the form and click Create Block
JavaScript API
If you want to save and load blocks from your own servers, you can load them up using the following API. Here's a code sample.
Load Blocks
// Load the blocks from your database
let blocks = [
  {
    /* Block JSON Object */
  },
  {
    /* Block JSON Object */
  },
  {
    /* Block JSON Object */
  },
];

unlayer.registerProvider('blocks', function (params, done) {
  console.log('blocks provider', params);
  done(blocks);
});
Reload Provider
If you added or removed blocks, you can reload the provider so it reflects in the editor.
unlayer.reloadProvider('blocks');
Events
You can catch events when a block is added, modified or removed by the end-user.
unlayer.registerCallback('block:added', function (newBlock, done) {
  console.log('block:added', newBlock);

  // Save the block to your database here
  // and pass the object to done callback.
  // Each block should have it's own unique id

  done(block);
});

unlayer.registerCallback('block:modified', function (existingBlock, done) {
  console.log('block:modified', existingBlock);

  // Update the block in your database here
  // and pass the updated object to done callback.

  done(block);
});

unlayer.registerCallback('block:removed', function (existingBlock, done) {
  console.log('block:removed', existingBlock);

  // Delete the block from your database here.

  done(block);
});
Best Practices
- Efficiency: Pre-define commonly used sections, such as headers, footers, or call-to-action sections, so end-users can easily reuse them without having to recreate them from scratch.
- Preview: Always test and preview custom blocks to ensure they are responsive and display well on different devices and screen sizes.
- Categorization: Organize custom blocks into clear categories like “Headers,” “Footers,” “Content,” etc., to make them easy to find for users.