Popup Builder
Popups are small windows that appear on your screen. Usually, they appear in the foreground of your visual interface. They are used to promote products and services on a website. However, many people are still not convinced by its effectiveness. Here are some benefits of popups for websites.
- Increase user engagement
- Increase conversion
- Decrease bounce rate
- Give a highly interactive Call To Action (CTA)
Due to high demand, we at Unlayer decided to add this feature to our long list of design modules.
Why are Popups Used?
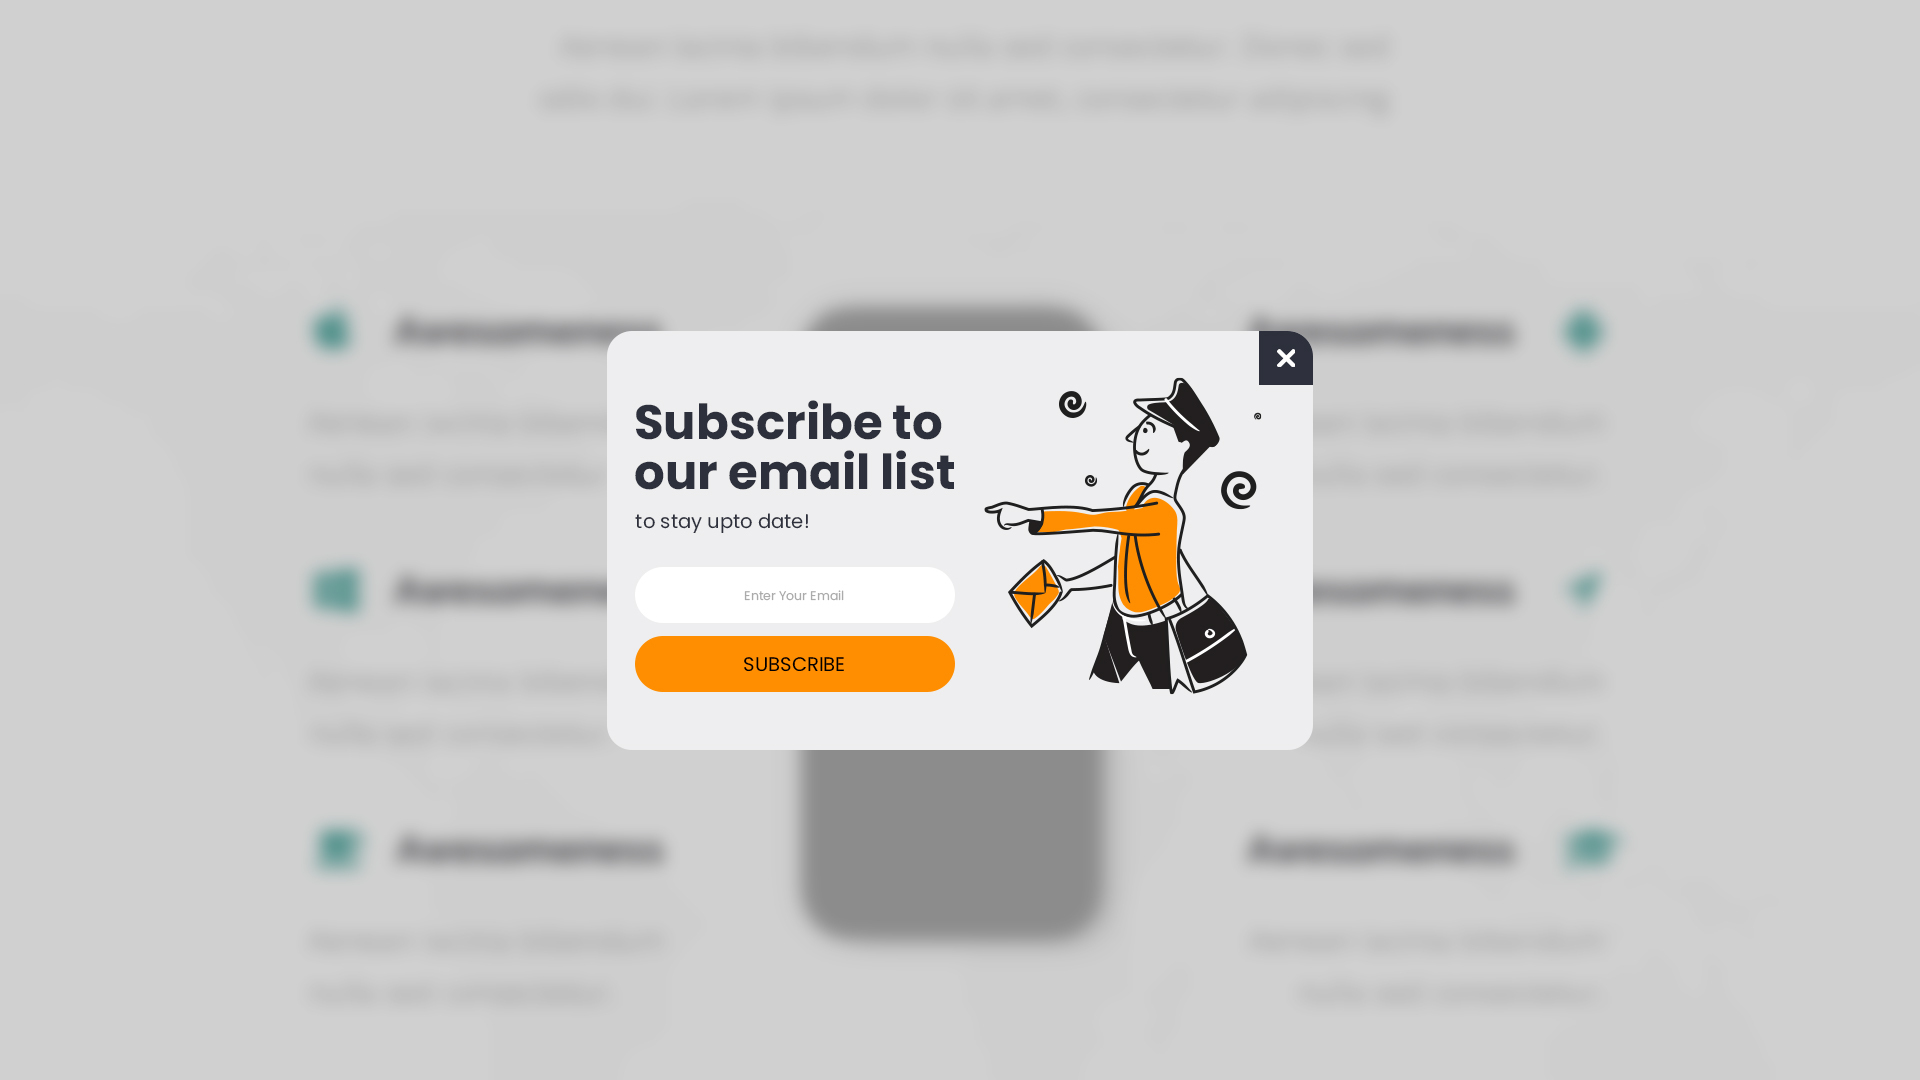
Popups help build lists. Most popups aim to collect email addresses, these are then used to send marketing messages to site visitors. This can lead to a higher number of conversions. Increasing user engagement with popups is a powerful way to increase conversions and lead generation. These small windows usually elicit a response from the user.
Composition of a Popup
Popups are traditionally composed of the following things;
- Square or Rectangular Window
- Close Button
- Eye-Catching Images
When designing a popup, make sure your users have the right focus. Make the copy clear and simple. People don't like to be confused or spammed with popups. The call-to-action should be the most critical part of the popup.
Features
Below are some of the main features of Unlayer popup builder.
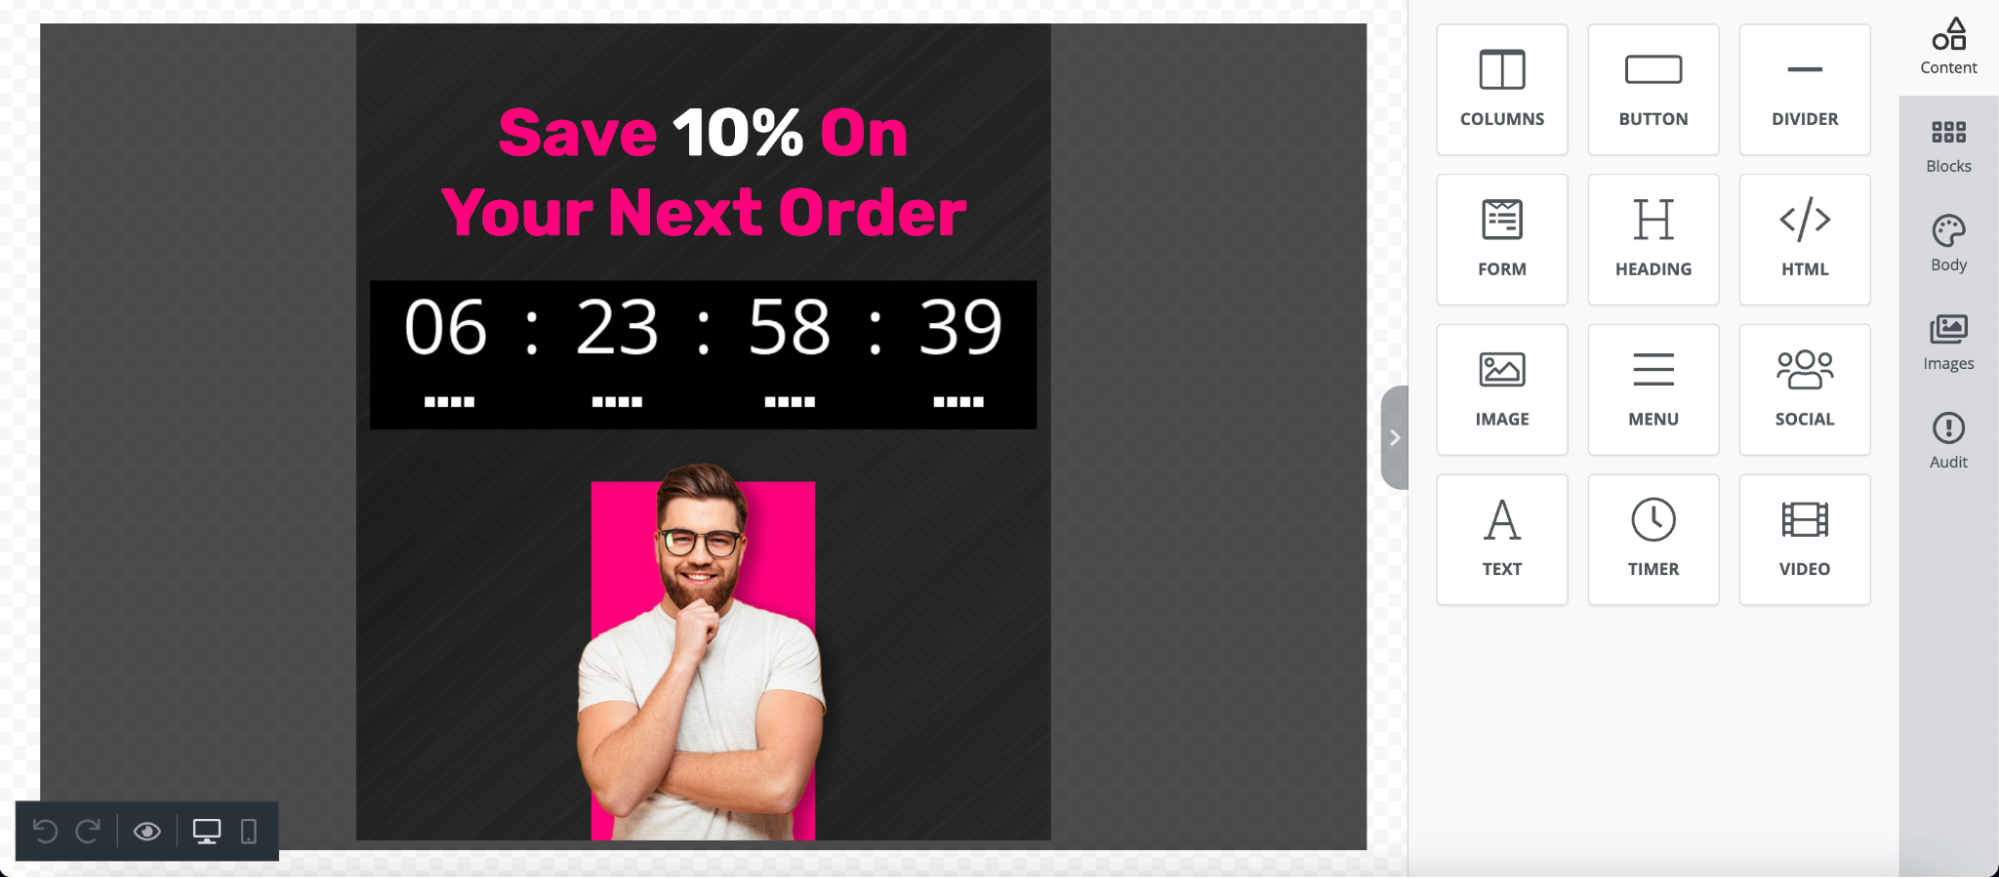
Countdown Timers
A countdown timer is a stopwatch that can be embedded in the popup, this feature is used to increase the hype of any website or product before launch.
Merge Tags (Personalized Content)
Using personalized content feature allows your users to tailor popups based on specific customers' information.
Merge Tags can be defined during the initialization of the editor.

Ready To Go HTML
Our editor creates HTML output for popups that is ready for any website. Copy, paste, and go.
Integration
After installing our JavaScript library, use the following code snippet to initiate the email editor. You have to pass displayMode as popup, and replace your project id.
unlayer.init({
  id: 'editor-container',
  displayMode: 'popup',
  projectId: 1234, // REPLACE
});
Multiple Popups
If you want to be able to create multiple popups for the same page, you should give each popup a unique identifier. This can be done by passing popupId when exporting HTML. Doing this will ensure that there is no CSS conflict with other elements of the page.
unlayer.exportHtml(console.log, {
  popupId: 'UNIQUE-ID',
});
Editor In Action
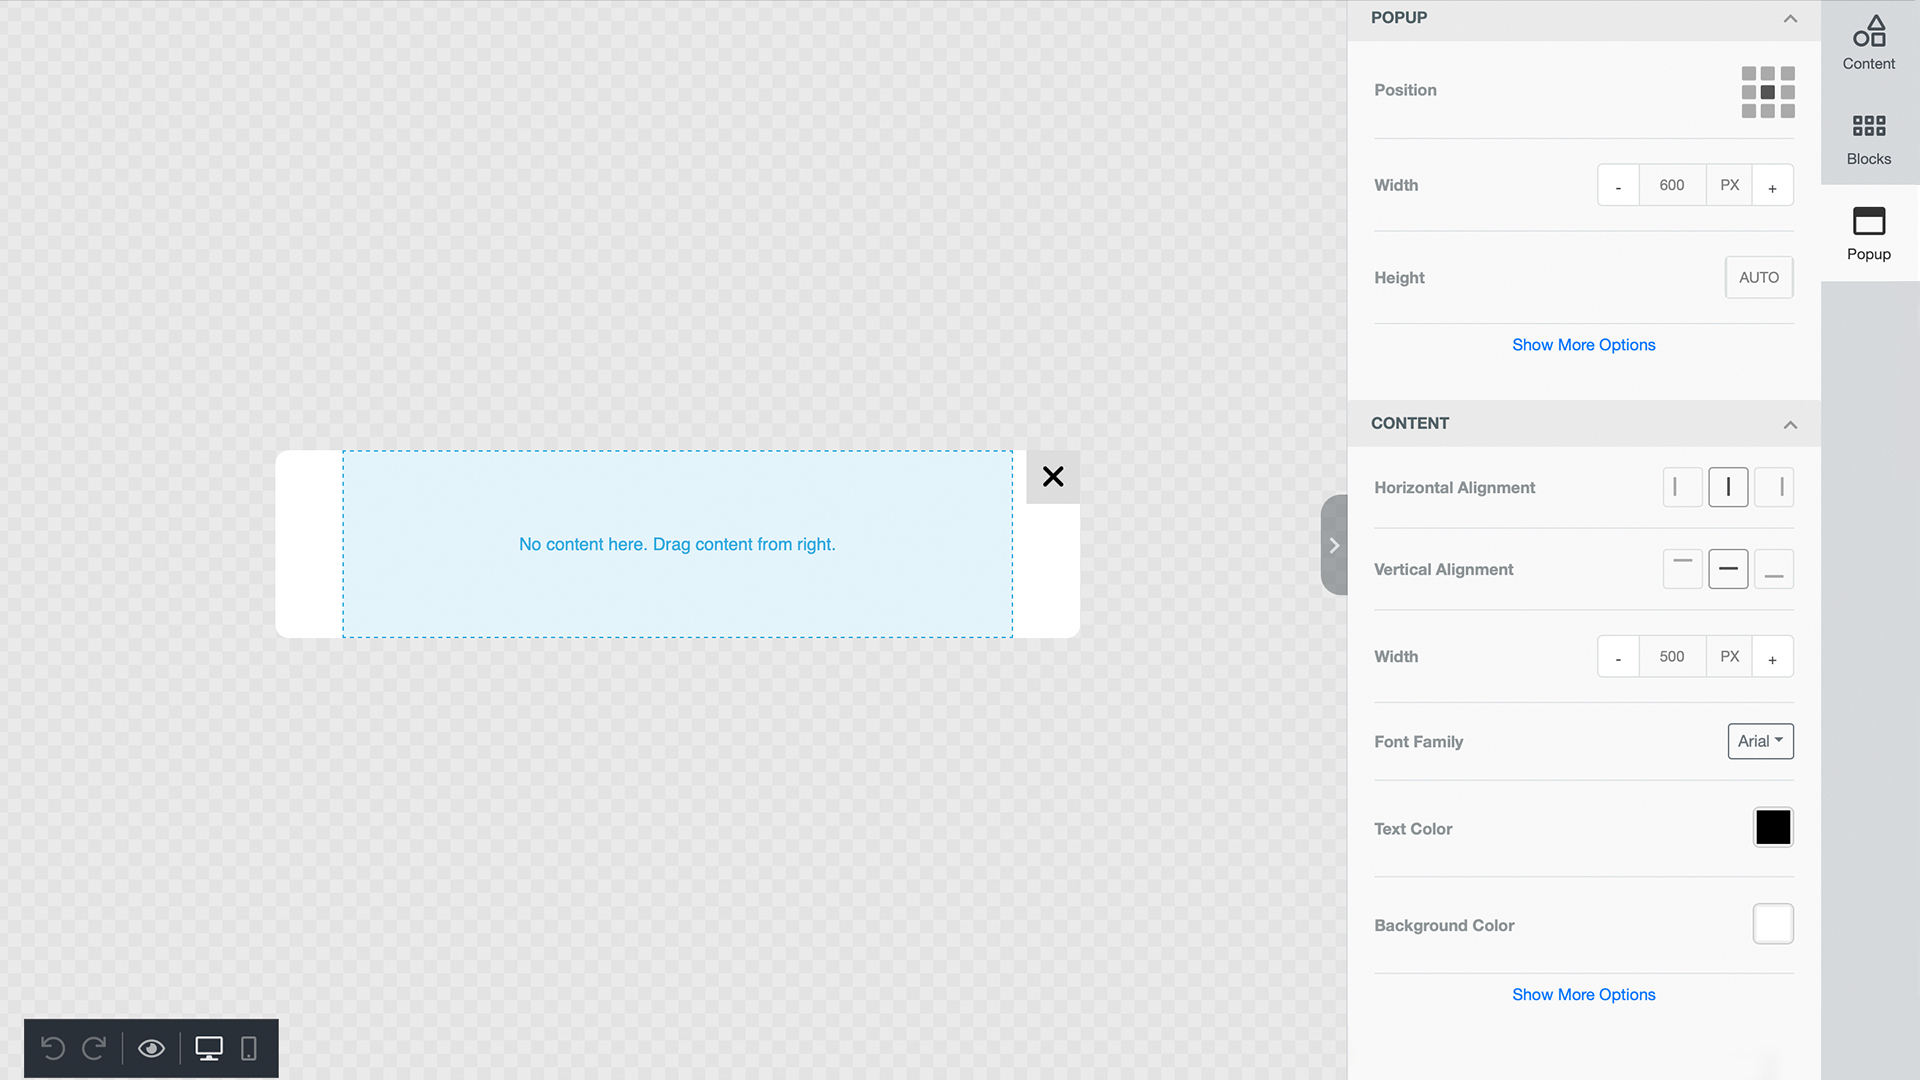
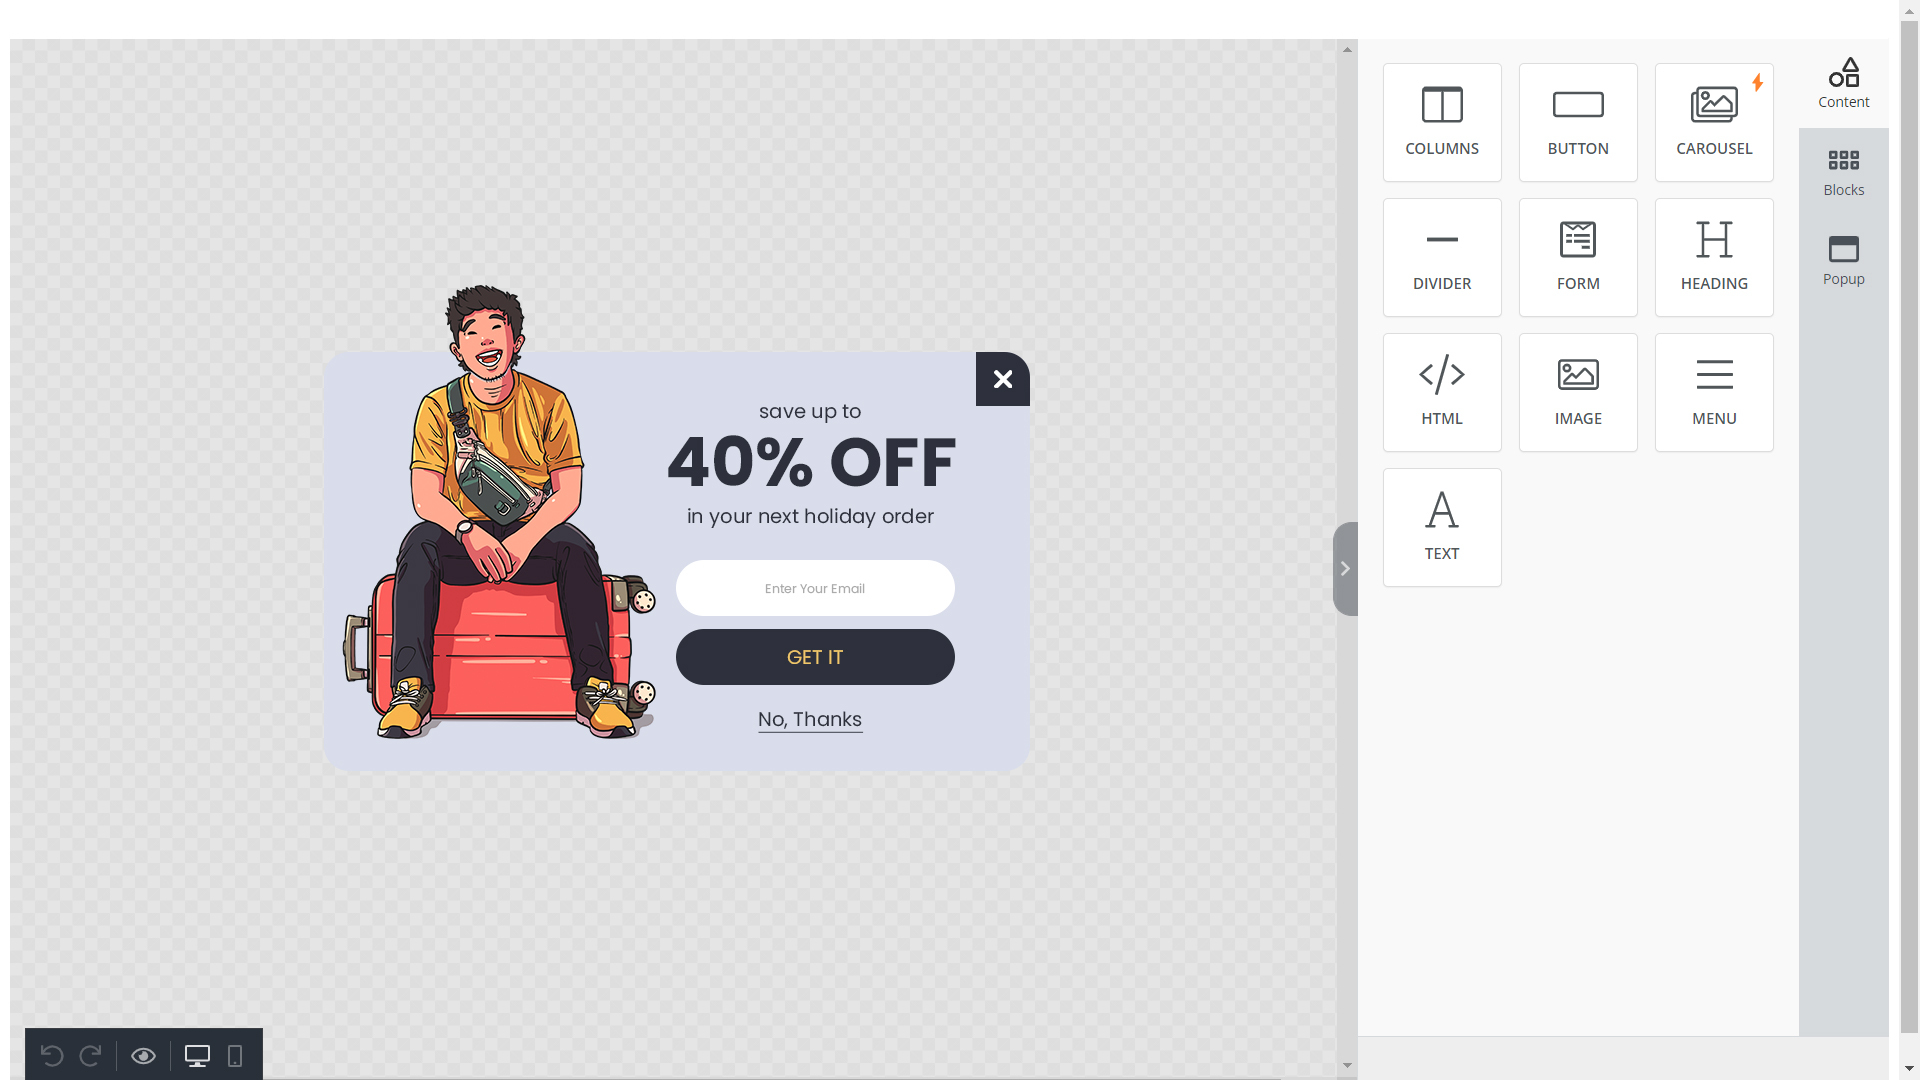
Once the popup builder is initialized, it will look like this.
Styling Options
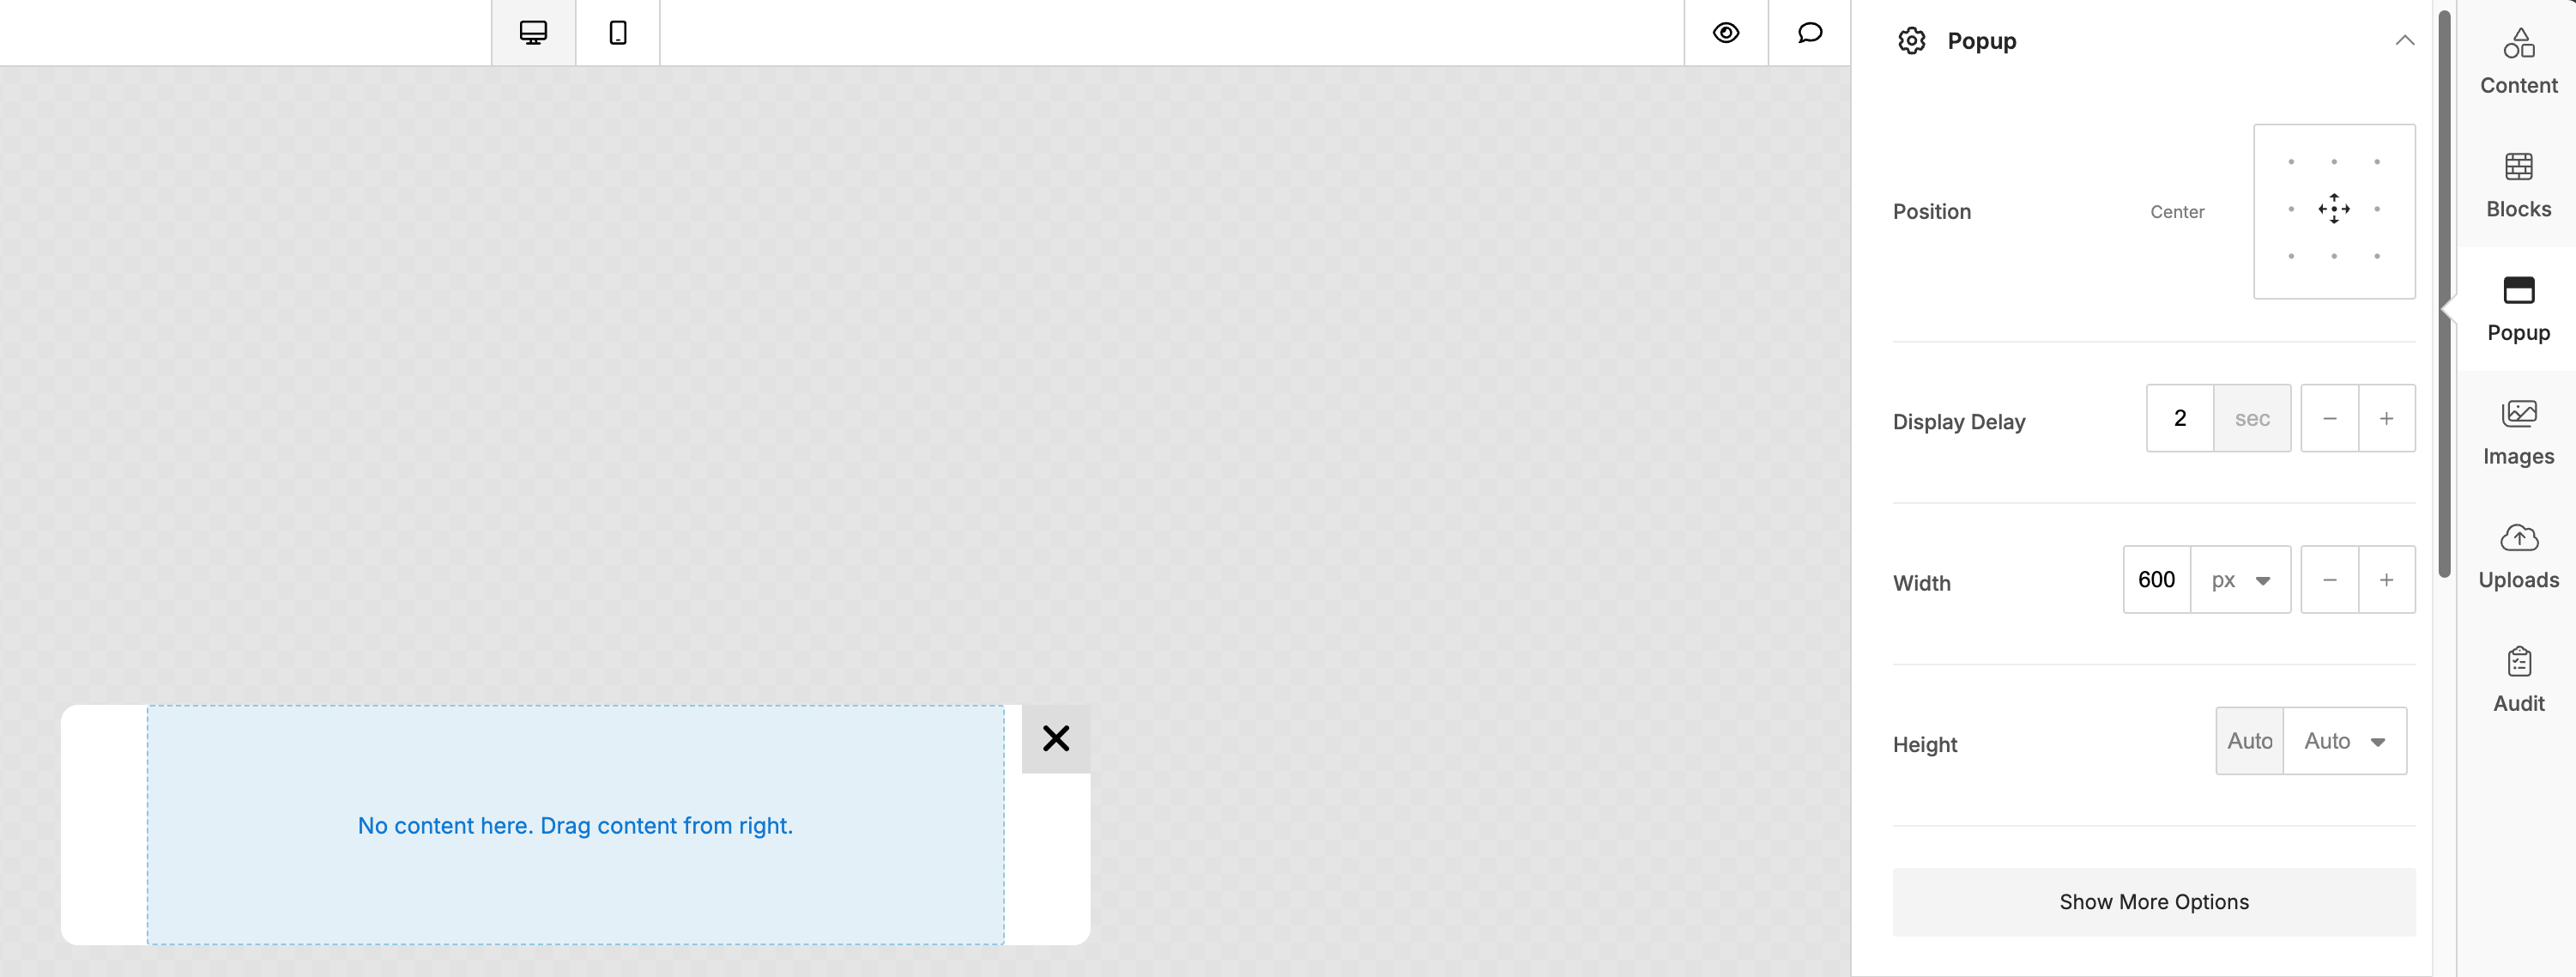
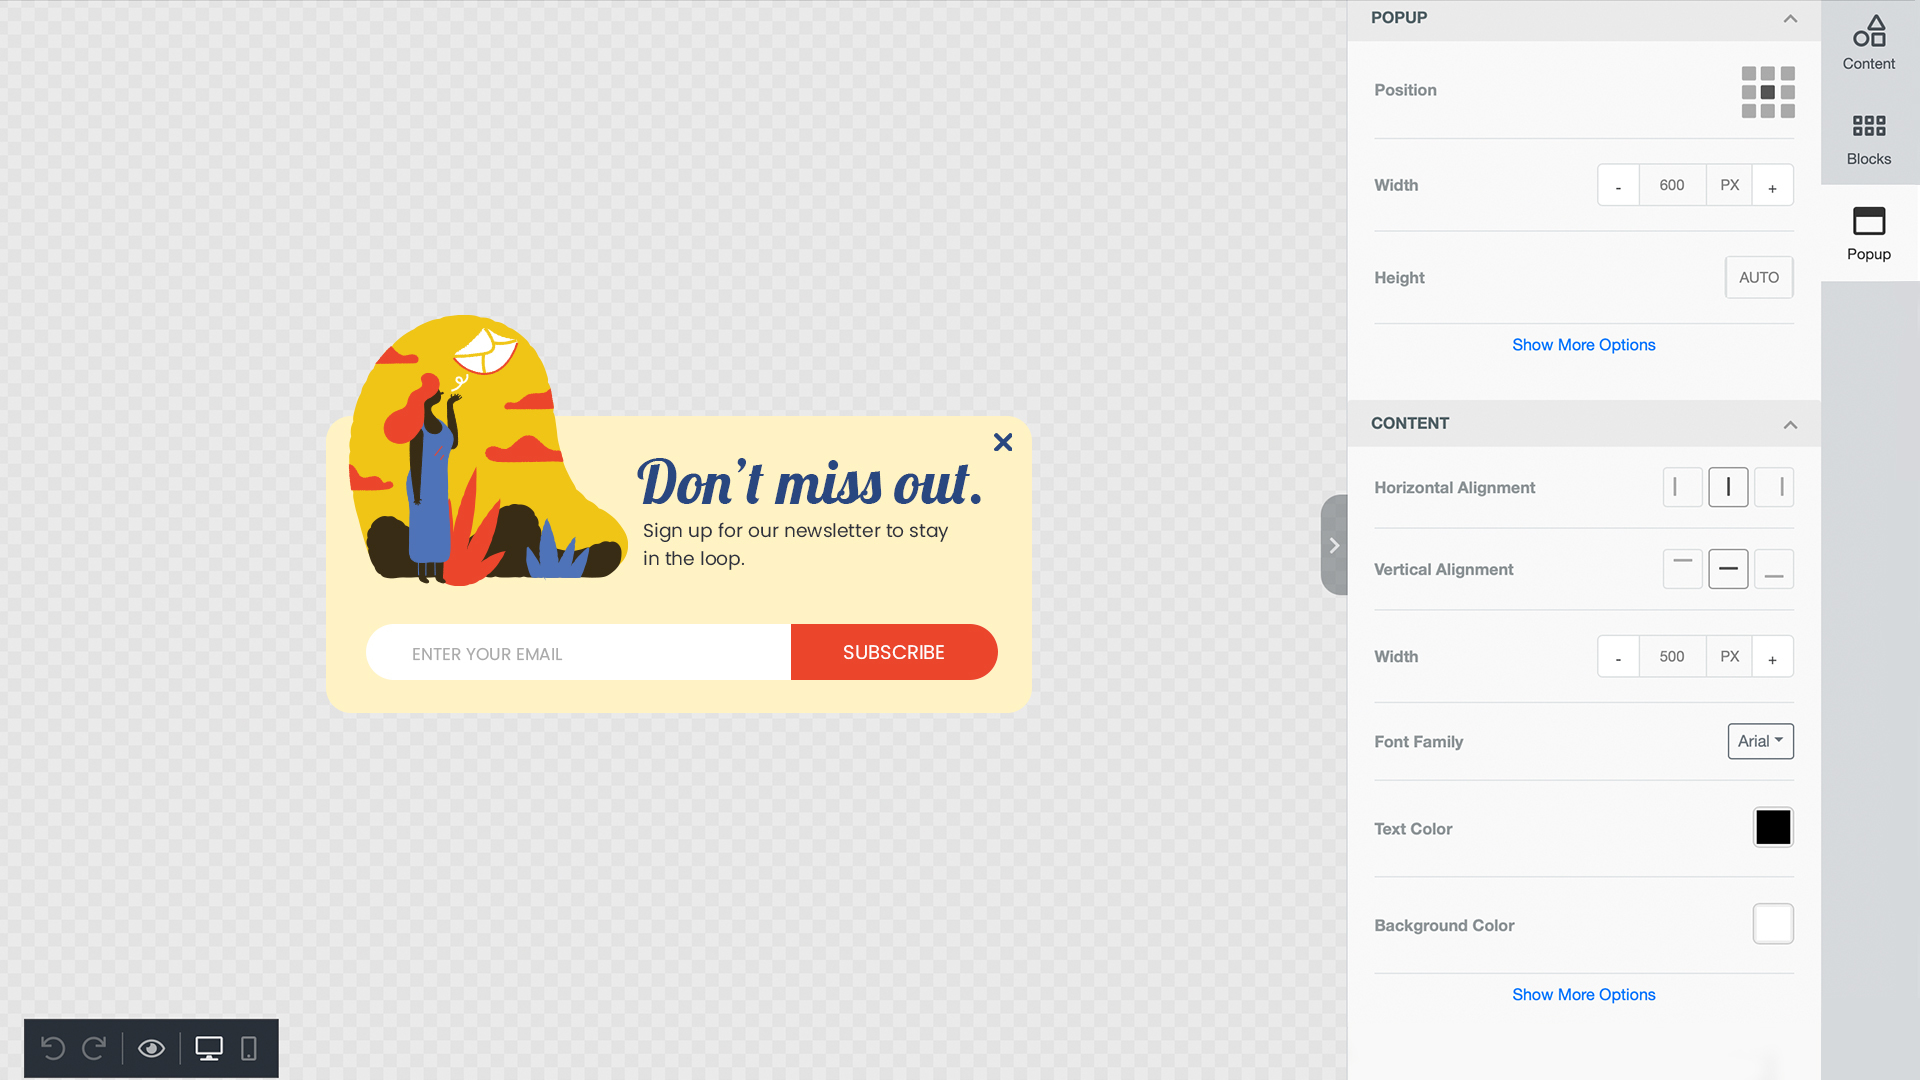
The popup will be in the middle of the screen, and there will be a Popup tab for styling options. These options are divided into the following sections.
Popup
Popup sections helps your users to;
- Set the exact position of the popup panel.
- Adjust the width and height of the popup box. Height is set to auto mode by default.
- If a user clicks on 'show more options', they will be given additional options to make the edges of your popup box rounded.
Content
The content panel contains alignment controls and other options for width, fonts, and colors. Your users can:
- Align the position of your popup (horizontal or vertical)
- Resize the width of your content box
- Edit font family
- Edit text color
- Edit background color
If your user clicks on 'show more options' they will be given an additional option to add an image in the background of the content box.
Overlay
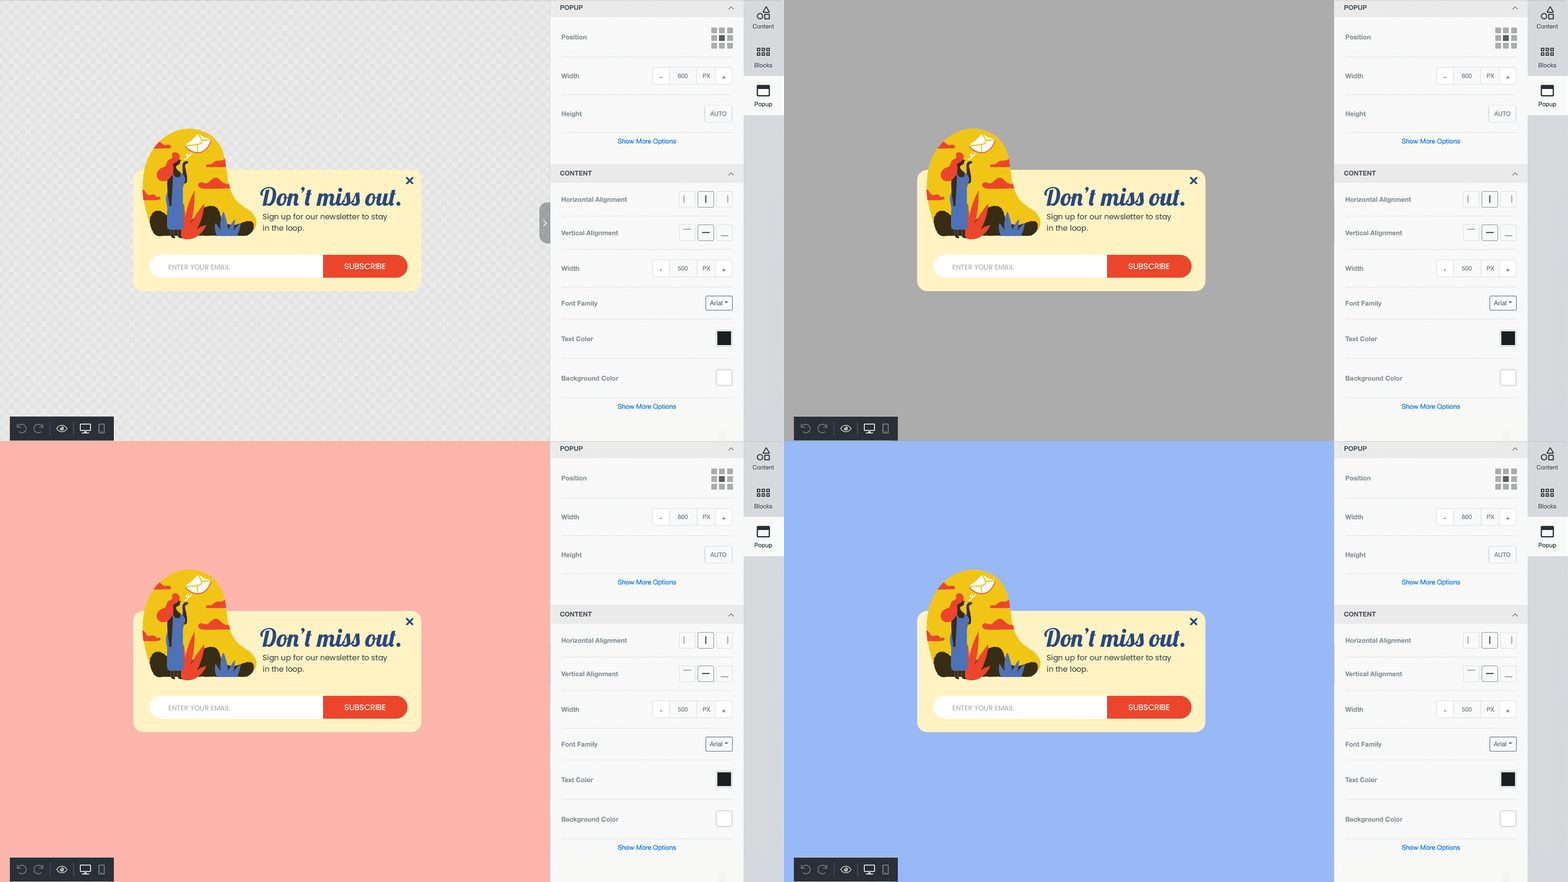
In this section, your users can change the color of the overlay.
Close Button
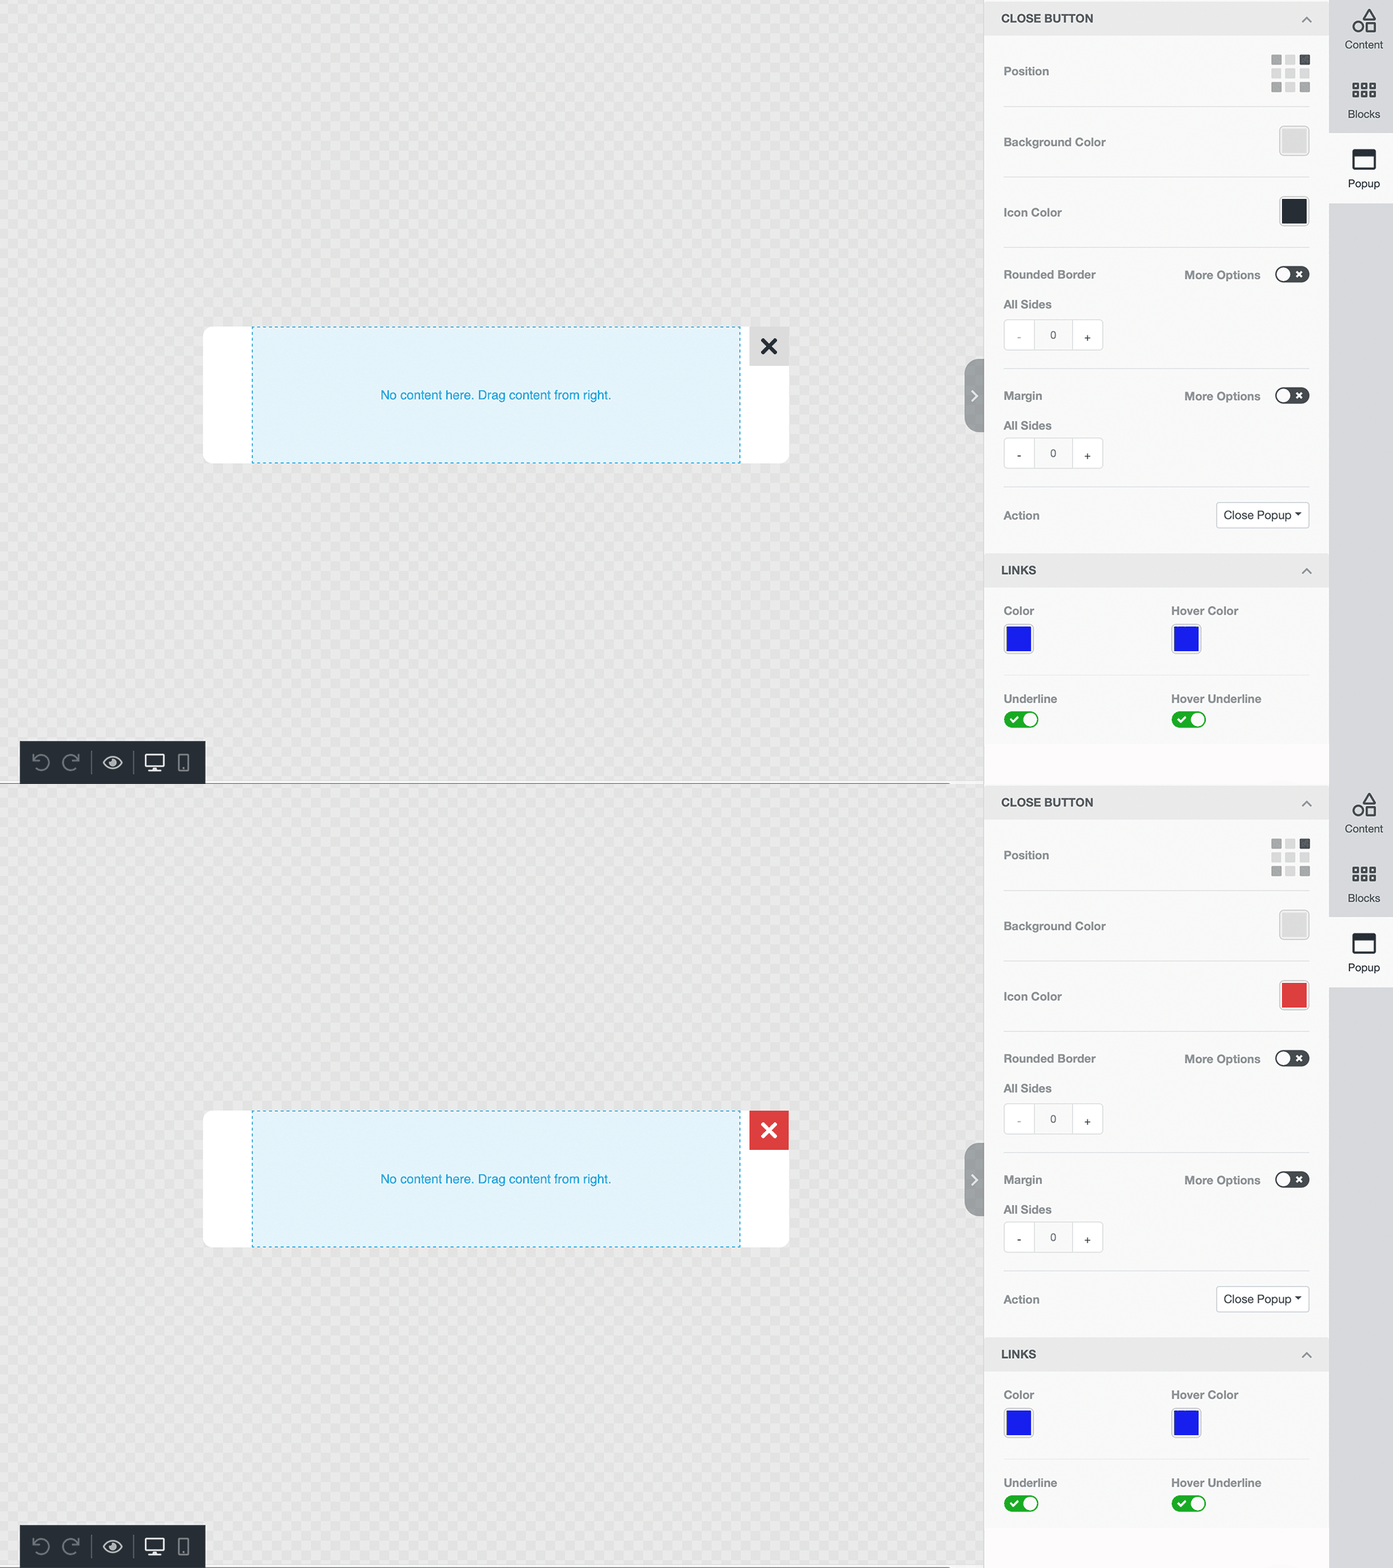
Styling and positioning of the close button is important. The close button should be prominently visible so users are not annoyed. In this panel, your users can;
- Set the position of your close button in any of the four corners
- Set the background color of the button
- Adjust the margins and borders
Display Delay
Timing of when the popup appears is important for user experience. In this panel, your users can set the exact timing for when the popup should appear (in seconds).
