Link Types
Link types refer to the different formats or destinations that a link can point to within a design. Each link type defines a specific kind of action or behavior when a user clicks a button or a link. Our platform supports a variety of link types to accommodate different use cases, allowing you to create links that perform functions beyond just navigating to a web page.
Each link type can be configured with custom properties, such as tracking codes, link text, and link attributes, to match the specific functionality needed for your design. By defining different link types, you can create a more interactive and user-friendly experience for your audience.
Available Link Types
- Website Link (URL): Standard hyperlink that directs users to a webpage.
- Email: Opens the user's default email client to send an email to a specified address.
- Phone Number: Initiates a call when clicked on mobile devices, using the "tel:" protocol.
- SMS: Opens the default messaging app to send a pre-configured text message.
- File Download: Allows users to download a specified file when they click the link.

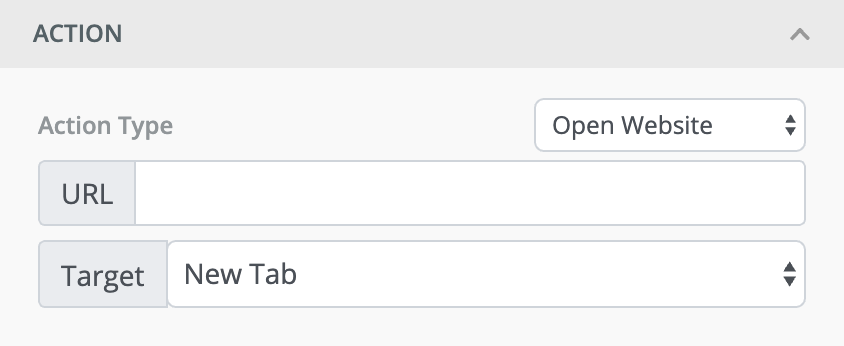
Each of these generate a URL with required input from the user. For example, Open Website asks the user for a URL and Target.

Adding a New Link Type
You can add your own link types. Every link type has the ability to add a URL to href or a JavaScript function to the onClick method of the link or button HTML tag. This could be a simple static URL, or a URL generated with user input.
You have to define the following parameters for each link type.
Parameters
| Name | Description |
|---|---|
| name | Unique name for the link type |
| label | Display label for the link type |
| attrs | An object where we define the link value. For URL based links, it will have href and target. For JavaScript links, this will have onClick. For File downloads, it will have a boolean download. |
| fields | This is where we will define the input fields that the user can fill to generate the URL. Check the input field parameters below. |
Input Field Parameters
If you need to get input from users to create the URL for your link, this is how you can define the fields.
| Name | Description |
|---|---|
| name | Unique name for the input field |
| label | Display label for the input field |
| defaultValue | Default value for the input field |
| inputType | Input type for the field. This is the HTML input type. Examples: text, email, number, etc. |
| placeholderText | Placeholder text for the input field |
| options | Only required for dropdown. An array of objects containing all the option labels and values. |
| sortOptions | Boolean to sort the options by their labels in ascending order. |
Examples
Here are a few examples that demonstrate different link types.
Static Link
In this example, we will add a simple https://google.com static link as an available link type. If a user selects this action, the button will simply open Google in a new tab.

unlayer.setLinkTypes([
  {
    name: 'static_google_link',
    label: 'Go to Google',
    attrs: {
      href: 'https://google.com/',
      target: '_blank',
    },
  },
]);
Input Generated Link
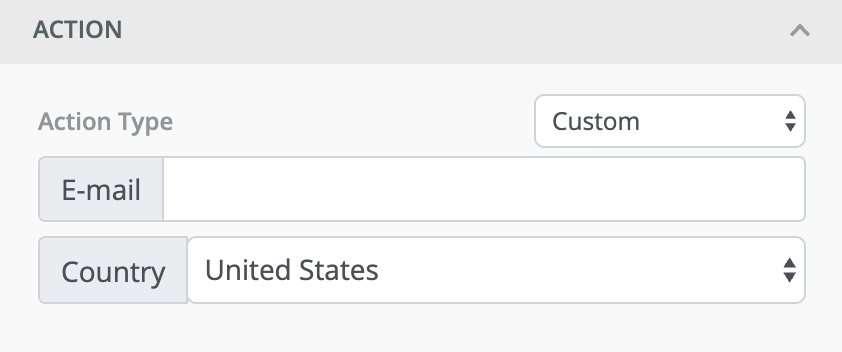
In this example, we will ask the user to enter an email and choose a country to generate the link URL. The link would look like: https://mycustomlink.com/?email=xyz@email.com&country=usa
For this, we will have to define these 2 input fields.

unlayer.setLinkTypes([
  {
    name: 'my_custom_link_type',
    label: 'Custom',
    attrs: {
      href: 'https://mycustomlink.com/?email={{email}}&country={{country}}',
      target: '_blank',
    },
    fields: [
      {
        name: 'email',
        label: 'E-mail',
        defaultValue: '',
        inputType: 'email',
        placeholderText: null,
        options: [],
      },
      {
        name: 'country',
        label: 'Country',
        defaultValue: 'usa',
        inputType: null,
        placeholderText: null,
        options: [
          { value: 'usa', label: 'United States' },
          { value: 'other', label: 'Other' },
        ],
        sortOptions: false,
      },
    ],
  },
]);
JavaScript onClick Link
In this example, we will define a link type that uses JavaScript onClick instead of href. This is useful if you are using our landing page builder.

unlayer.setLinkTypes([
  {
    name: 'my_custom_alert',
    label: 'Show Alert',
    attrs: {
      onClick: 'alert("Hello World")',
    },
  },
]);
File Download Link
unlayer.setLinkTypes([
  {
    name: 'file_download',
    label: 'File Download',
    attrs: {
      href: '{{file}}', // Link destination (file URL)
      download: true, // Enables the download attribute
    },
    fields: [
      {
        name: 'file',
        label: 'File',
        defaultValue: undefined,
        isMulti: false, // Single file selection
        options: [
          {
            label: 'Open file management...',
            value: '',
            onClick(_option, _meta, done) {
              // Simulate file manager popup to choose a file
              const file = prompt('Enter the file name');
              if (!file) return;

              // Return the selected file to Unlayer
              done({ label: 'Optional label here', value: `${file}.zip` });
            },
            highlight: true,
          },
          {
            type: 'separator',
          },
          {
            label: 'File 1',
            value: 'https://website.com/file1.zip',
          },
          {
            label: 'File 2',
            value: 'https://website.com/file2.zip',
          },
        ],
        sortOptions: false,
      },
    ],
  },
]);
Enable/Disable Defaults
You can enable or disable the default link types. sms link type is disabled by default because it's not supported by most email clients including Gmail, Yahoo and Outlook.
unlayer.setLinkTypes([
  {
    name: 'phone',
    enabled: true,
  },
  {
    name: 'email',
    enabled: true,
  },
  {
    name: 'sms',
    enabled: false,
  },
]);
Advanced
Link Attributes
The editor has the ability to add or modify attributes in the link tag. These attributes can be set to support multiple values or a single value at a time. Chosen value(s) can be appended to an existing attribute or added as a new attribute.
Tags Example
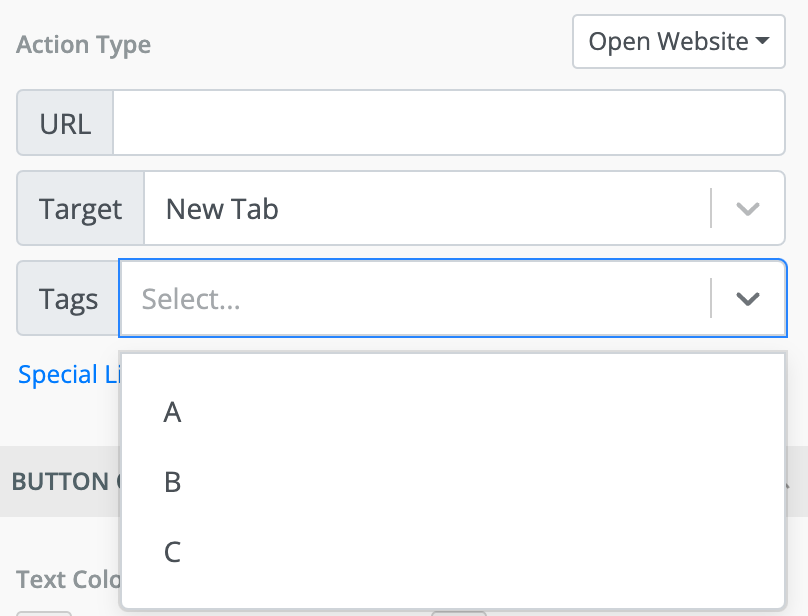
A common example is appending multiple chosen tags to the href attribute in a link tag. In the following example, we will add support for multiple tags in the link editor and append it to the href attribute of the link tag.

You can use the following code sample to enable this feature.
unlayer.setLinkTypesSharedConfig({
  attrs: {
    // 'data-tags': '{{tags}}',
    '+href': '?tags={{tags}}', // append tags in the href attribute of link
  },
  fields: [
    {
      name: 'tags',
      label: 'Tags',
      defaultValue: [],
      isClearable: true, // clear all tags
      isCreatable: true, // allow creation of new tags
      isMulti: true, // support multiple tags
      limit: 2, // limit the number of items that can be selected when isMulti: true (optional)
      limitMessage: 'You can only select up to 2 items', // custom message for when limit is reached (optional)

      // optional - if creation is enabled
      onCreateOption(inputValue, _meta, done) {
        // Save or create inputValue in the database (if needed)

        const newOption = {
          label: inputValue,
          value: inputValue,
        };

        done(newOption);
      },

      // existing tags
      options: [
        {
          label: 'A',
          value: 'a',
        },
        {
          label: 'B',
          value: 'b',
        },
        {
          label: 'C',
          value: 'c',
        },
      ],
      sortOptions: true,
    },
  ],
});