
Installation
This page will help you get started with Unlayer. You'll be up and running in a jiffy!
Step 1: Add JavaScript Library
To get started, you need to add the Unlayer JavaScript library to your web app. This library will load everything needed to run the builder.
<script src="https://editor.unlayer.com/embed.js"></script>
If you are using React, Angular or Vue, check our components available on npm:
Step 2: Add a Container for the Editor
The Unlayer editor needs a container element on your page. Add a blank div where the editor will be displayed.
<div id="editor-container"></div>
For the best experience, ensure the container is at least 1024px wide and 700px high. The editor will expand to fill the entire container.
Step 3: Initialize the Editor
Now, let’s initialize the editor inside the container you just created by passing its id and configuration options.
unlayer.init({
  id: 'editor-container', // ID of the container created in previous step
  projectId: 1234, // Add your project ID here
  displayMode: 'email', // Can be 'email', 'web', 'document' or 'popup'
});
Where to get the Project ID?
- Log in to the Developer Console
- Create a Project
- You can find the project ID in Project > Settings
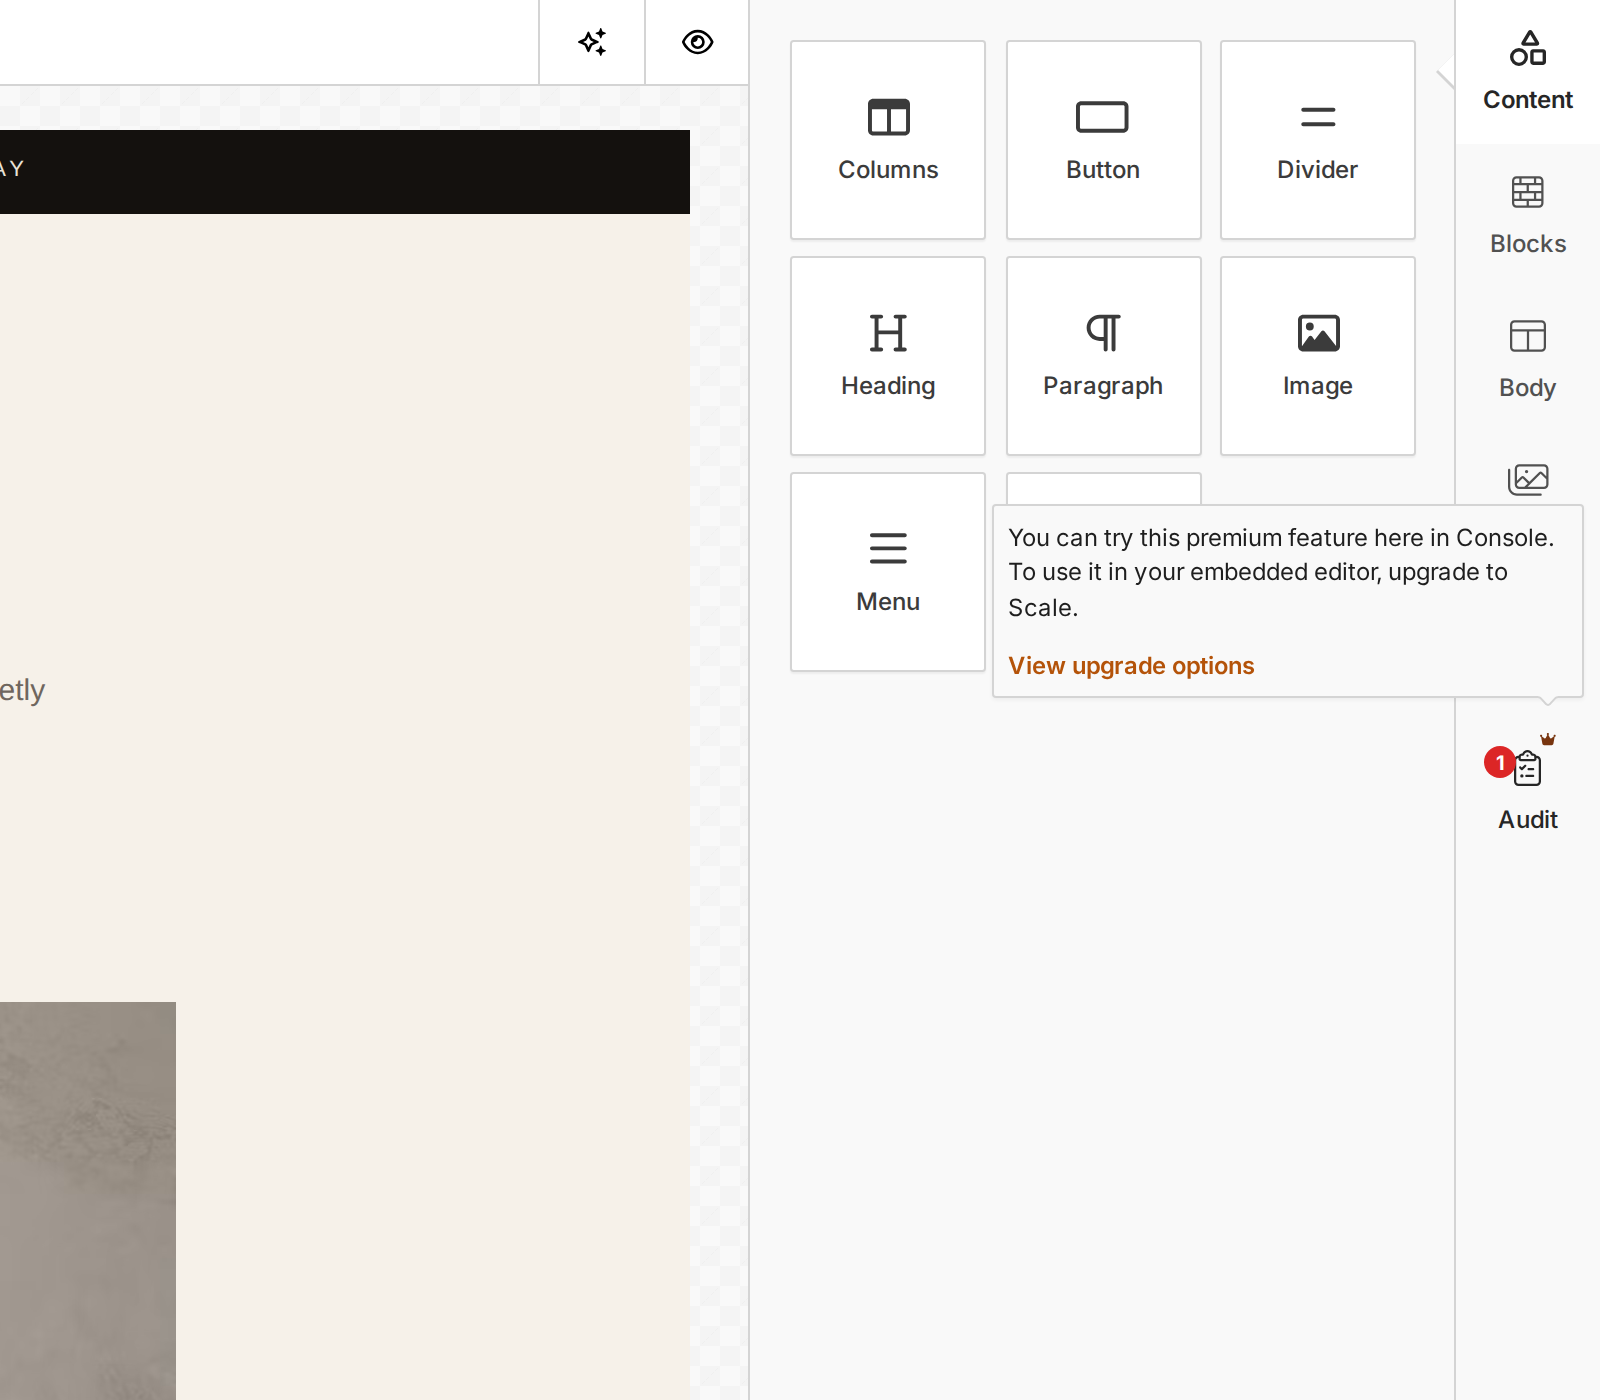
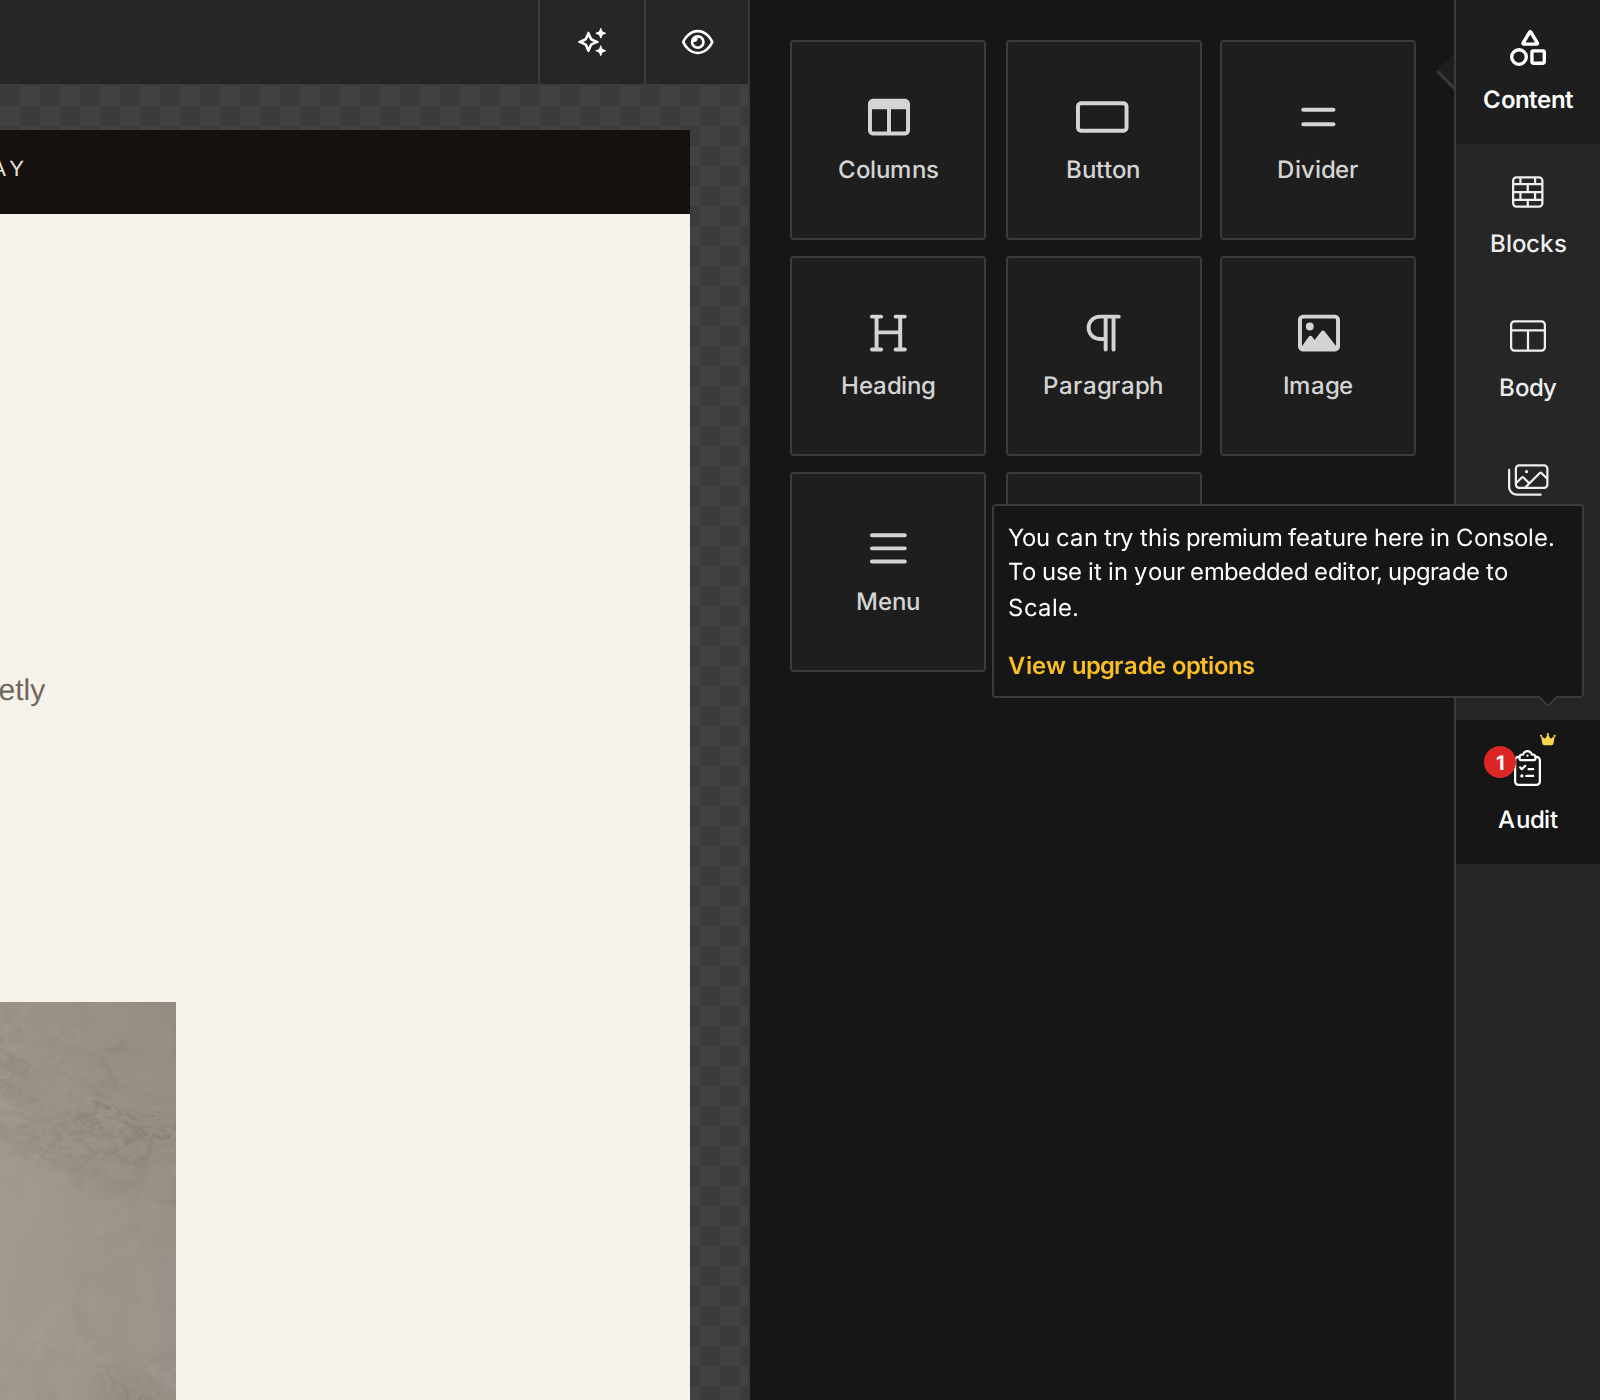
Premium previews in Developer Console
When you open a project in Developer Console, the editor may let you try capabilities that are not included in your current plan. Premium badges on individual controls identify the capabilities you are previewing. Hover a badge to preview an interactive card with the first current plan that includes that capability, or click or tap the badge to keep the card open. Escape and outside clicks dismiss it. Workspace owners can open upgrade options from the card; other members are prompted to ask a workspace owner to upgrade. Plan names and allowances reflect the live plan catalog and your account-specific limits. Standalone badges are keyboard-focusable, so their plan guidance does not require a pointer. Badges inside buttons and other interactive controls share the control's keyboard stop instead of adding a nested stop.
If one action depends on several premium capabilities, the guidance names the first current plan that includes all of them for your account. Premium cards open only when you interact with a badge; using a previewed capability does not open one automatically. These markers only appear in Developer Console and do not appear in your embedded editor.
Configuration Options
Here's a breakdown of some commonly used configuration options for unlayer.init():
| Attribute | Required | Description |
|---|---|---|
| id string | Yes | This is the HTML div id of the container where the editor will be embedded. |
| displayMode string | No | This decides which builder to load. Available values: email, web, document, popup. Default value is web. We have these builders available: Email Builder, Page Builder, Document Builder, Popup Builder |
| projectId integer | No | This is the project ID from Unlayer. You can get it from the project settings page. |
| locale string | No | This is the locale you want to load the editor in. We have many translations available. Learn more |
| appearance object | No | These are the appearance options to change the look and feel of the editor. Learn more |
| user object | No | This is the info of the user who is using the editor. You can pass id, name and email. Learn More. |
| mergeTags array | No | This is an array of objects. You can pass the merge tags to display in the editor. Learn more |
| designTags object | No | You can pass design tags in this object. Learn more |
| specialLinks object | No | You can pass special links in this object. Learn More |
| tools object | No | These are the options for tools and custom tools. Learn more |
| blocks array | No | This is an array of objects. You can pass custom blocks here. Learn more |
| editor object | No | These are some editor options for different functions of the editor. Learn more |
| fonts object | No | You can pass custom fonts here. Learn More |
| customJS array | No | Custom JavaScript URL or source. Learn more |
| customCSS array | No | Custom CSS URL or source. Learn more |
| textDirection string | No | This is the text direction of html output which can be rtl or ltr. |
Multiple Instances
You can create multiple instances of the editor on the same page, or if you have a single page application.
const editor = unlayer.createEditor({
  id: 'editor-container',
  projectId: 1234, // Add your project ID here
  displayMode: 'email',
});

editor.loadDesign({});
editor.exportHtml(function (data) {});
Step 4: Deploy to Production
To access project settings and premium features in production:
- Log in to Developer Console and go to your project.
- Pass the
projectIdwhen initializing the builder. You can find the project ID in console under Project > Settings. - Add Allowed Domains: Ensure your builder only works on specific domains. Go to Project > Settings > Deployment and add your allowed domains under “Allowed Domain(s)” section as shown below.