
AI Template Importer
This feature is only available in paid plans. Learn More
The AI Template Importer turns an existing design into an editable Unlayer template in one click. Bring an HTML email or a screenshot of the page you want to recreate, and the importer rebuilds the layout — rows, columns, text, buttons, images, colors, and links — as a fully editable template, ready to refine in the builder.
It's available in the Unlayer Console, inside any project's Templates area. Partners can also offer it inside the embedded builder as an opt-in action in the AI Assistant.
The AI Template Importer is part of your plan's AI features and uses your existing AI credit allowance — the same pool that powers the AI Assistant and other AI tools. No separate add-on required.
What you can import
The importer accepts two kinds of input and produces a complete, editable template:
- HTML email. Bring an existing email — exported from another tool, hand-coded, or pulled from your inbox. The importer reads the layout, preserves your copy, links, fonts, and colors, and quietly skips elements like tracking pixels and "View in browser" links that don't belong in your editable template.
- Screenshot or image. Have a design in mind but no source HTML? Upload a screenshot of any email or page you'd like to recreate. The importer reads the visual layout and rebuilds it from scratch so you can take it from there.
Once imported, the template behaves like any other — rearrange rows, edit copy, swap images, and adjust styles directly in the builder.
Embedded builder access
Embedded access is disabled by default. Set features.ai.templateImporter to true when initializing the editor to add Import from HTML or image to the full-template AI Assistant conversation:
The embedded action requires an editor release that includes
features.ai.templateImporter. An embed pinned to an earlier editor version
will ignore this option and will not show the action. Use the latest channel
while evaluating the feature, or pin a release published with Template
Importer support. This does not affect imports started from the Console.
unlayer.init({
  features: {
    ai: {
      enabled: true,
      assistant: true,
      fullTemplateGeneration: true,
      templateImporter: true,
    },
  },
});
The action also follows the AI Assistant and full-template generation requirements. features.ai.fullTemplateGeneration defaults to true and is shown explicitly above because the importer depends on it. Setting it to false hides the importer even when features.ai.templateImporter is true. Registering ai:assistant:generate also hides the importer because that host-owned, single-result generation contract does not support imports. With an empty reference draft, end-users can open the + menu and choose Import from HTML or image. Dropping HTML/HTM over the Assistant instead stages it as a reference; submitting one HTML file without instructions or image attachments starts an import, with replacement confirmation when the canvas already has content. Dropped images attach to the chat when image uploads are enabled; use the import menu to reconstruct a template from a screenshot. If image uploads are disabled, a dropped image stages an import instead.
The importer is available only while Full Template is the active Assistant target. Selecting an individual row or content tool hides the import action and clears any selected file or import currently in progress. Returning to Full Template restores the action without restoring the discarded import. HTML reference cards in the normal conversation draft are preserved while the target changes and become available again at the full-template level.
Imports run on the model the end-user picked in the Assistant's model selector, or on features.ai.model when the init config pins one; otherwise the service uses its importer default.
The flag is an editor UI control, not an Unlayer-managed end-user entitlement or quota. Set it independently for each editor session using your own plan, role, onboarding, or allowance logic. For example:
// Fetch this server-authoritative decision before initializing the editor.
const canImportTemplates = currentUser.features.canImportTemplates;

unlayer.init({
  features: {
    ai: {
      fullTemplateGeneration: true,
      templateImporter: canImportTemplates,
    },
  },
});
Your application is responsible for storing and enforcing any per-user allowance in its backend before it enables the importer. The AI Assistant lifecycle callbacks can identify HTML and image import activity for analytics and reconciliation, but they fire after the editor accepts the action and cannot block a request. Unlayer's normal workspace AI-credit requirements still apply.
The uploaded HTML or image is sent to Unlayer's AI service and the selected model provider so the design can be reconstructed. Source bytes are omitted from lifecycle callback payloads and lifecycle logs; optional text instructions are included in the request callback. See AI Assistant privacy and data for the broader data-handling policy.
How to import from the Console
- In the console, open the Templates tab for your project (available for Emails, Pages, and Documents).
- Click AI Template Importer in the top-right corner.
- Choose your source file (or drag it into the standalone importer). In the embedded Assistant, choose Import from HTML or image for a direct conversion, or use Add files to provide HTML and photos as conversational references:
- HTML files:
.html,.htm - Images:
.png,.jpg,.jpeg,.webp,.gif. GIF imports use the first frame; it must fit the 5 MB limit after PNG conversion and contain at most 25 megapixels. - Max file size: 5 MB
- HTML files:
- Give your template a name and, if you'd like, choose a folder to save it in.
- Click Import and let the importer work — you'll see progress updates as it goes. A typical import takes under a minute; longer or more detailed designs may take a bit more time.
When it's done, you'll land directly in the editor with your new template open, ready to edit, polish, and use.
Importing inside the embedded builder
- Open the AI Assistant at the full-template level.
- With no reference attachments staged, open the + menu and select Import from HTML or image.
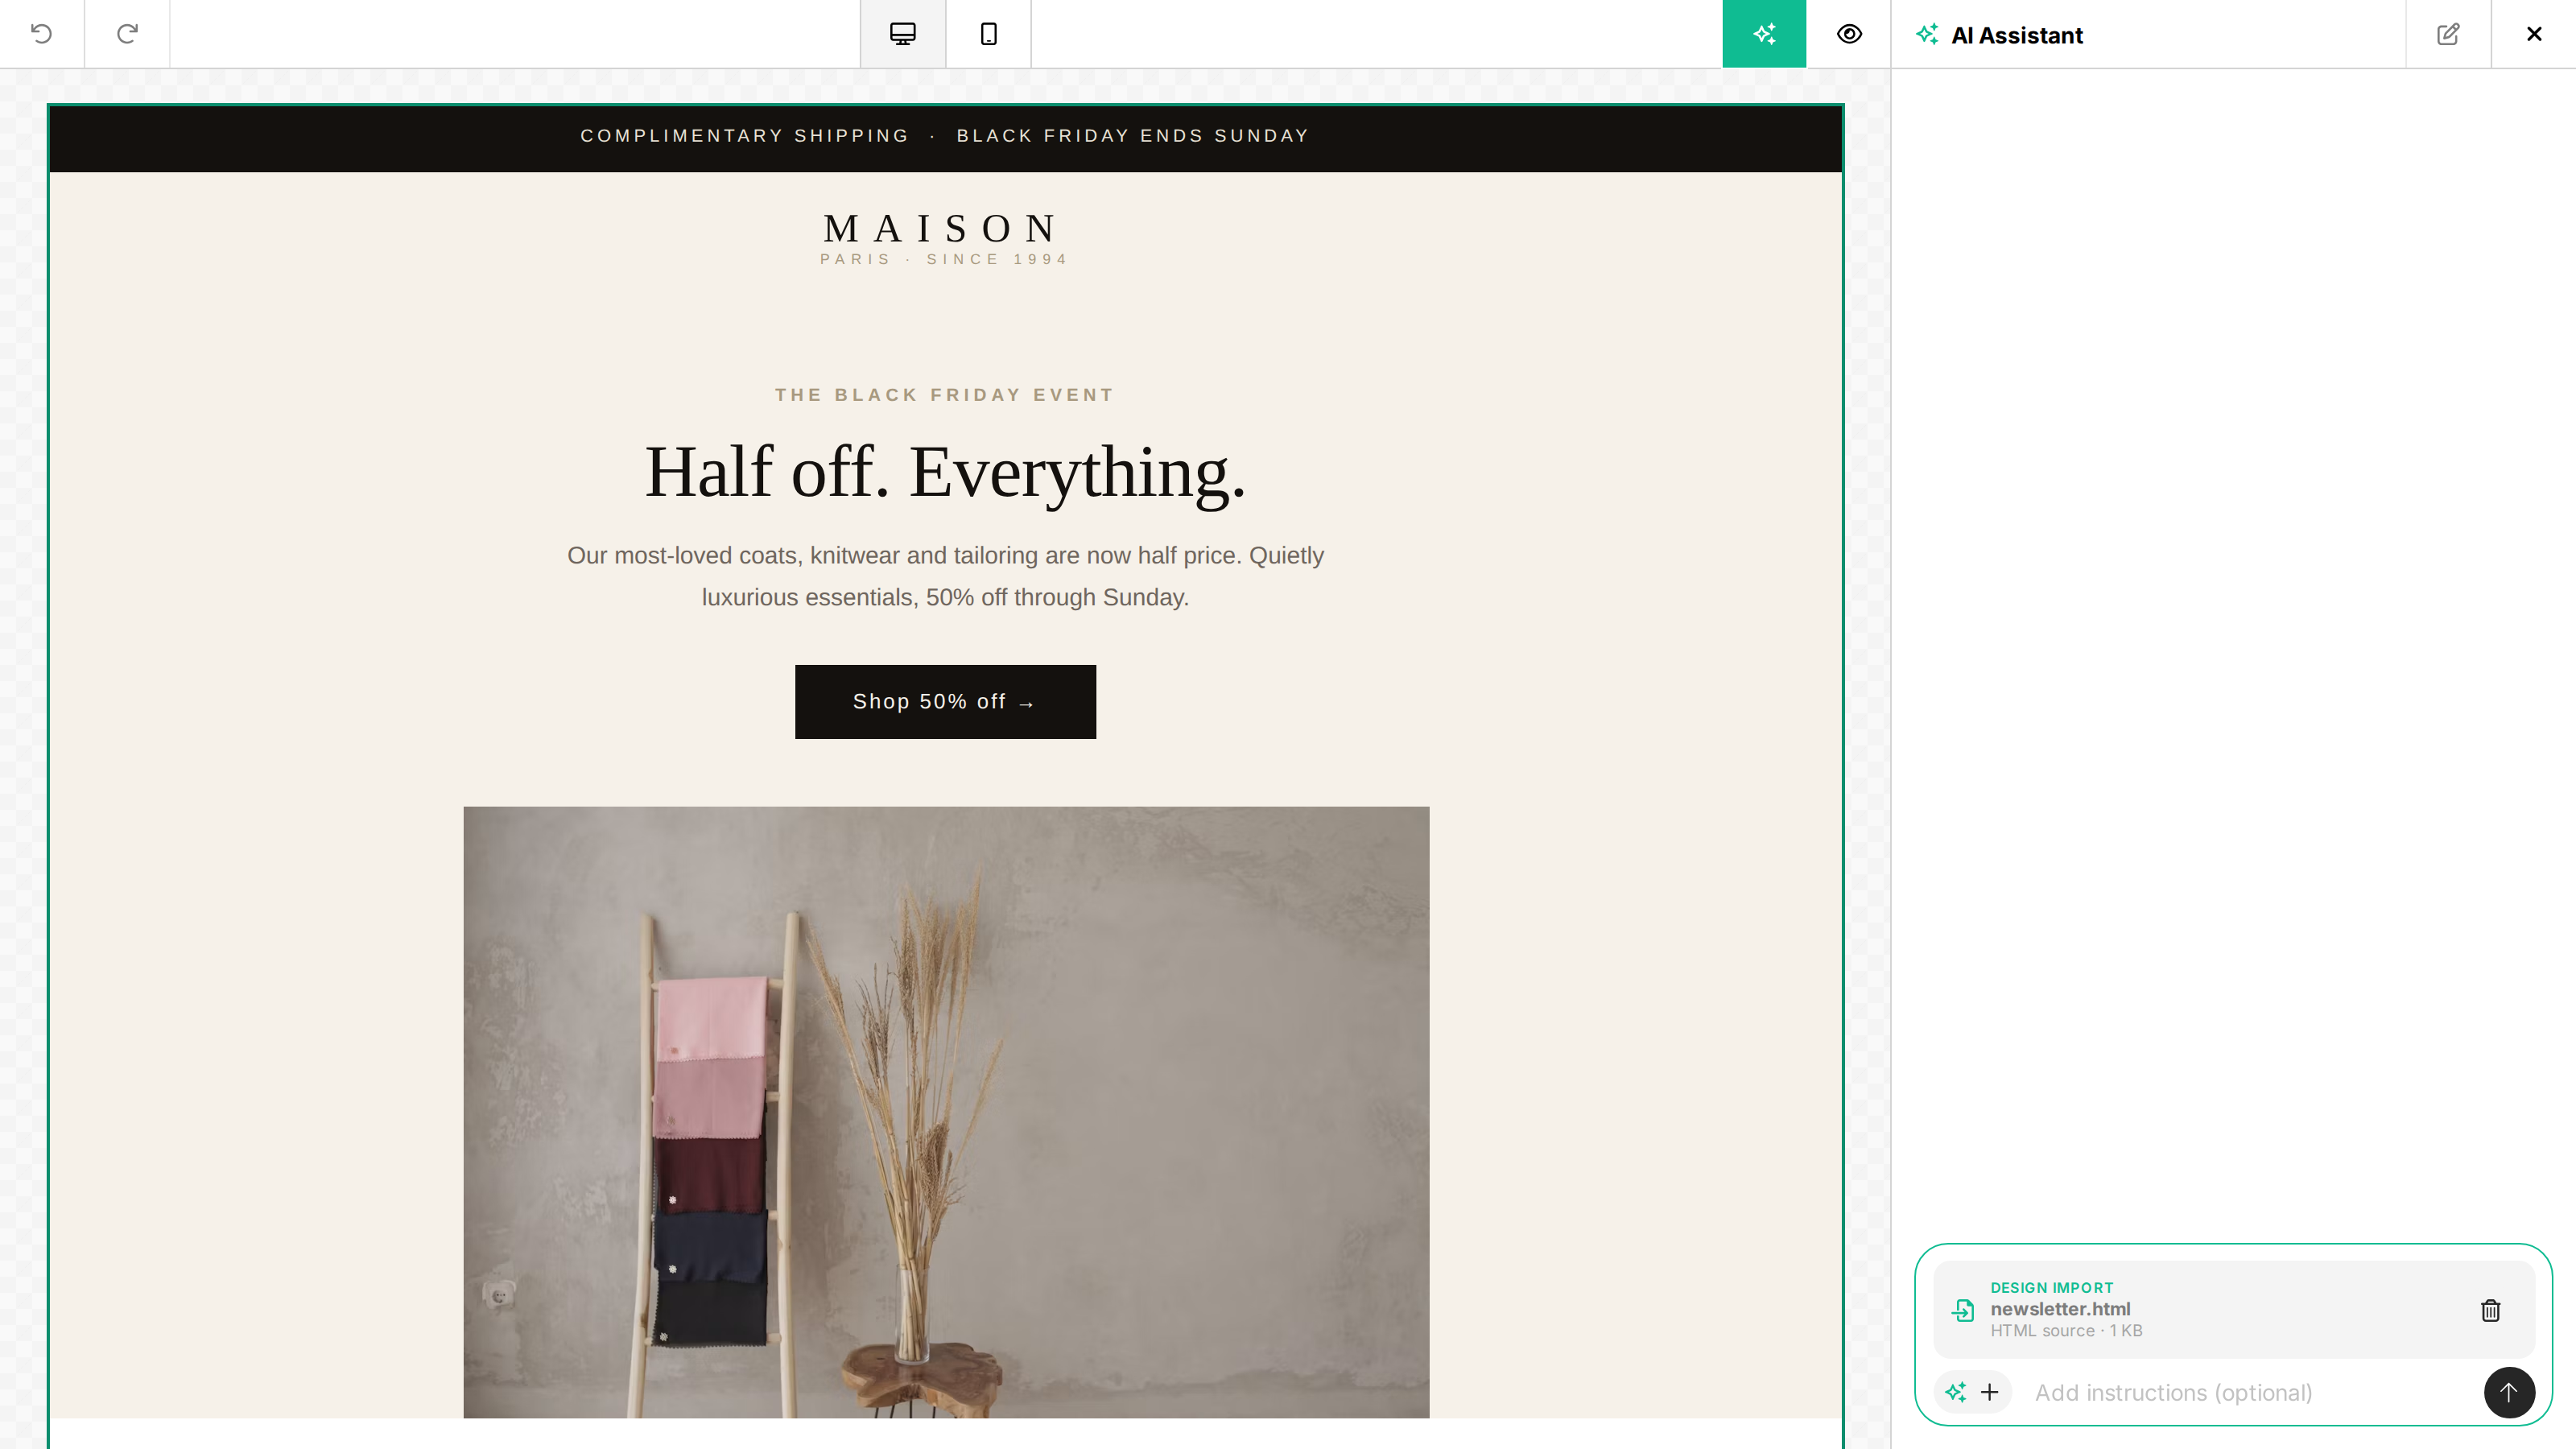
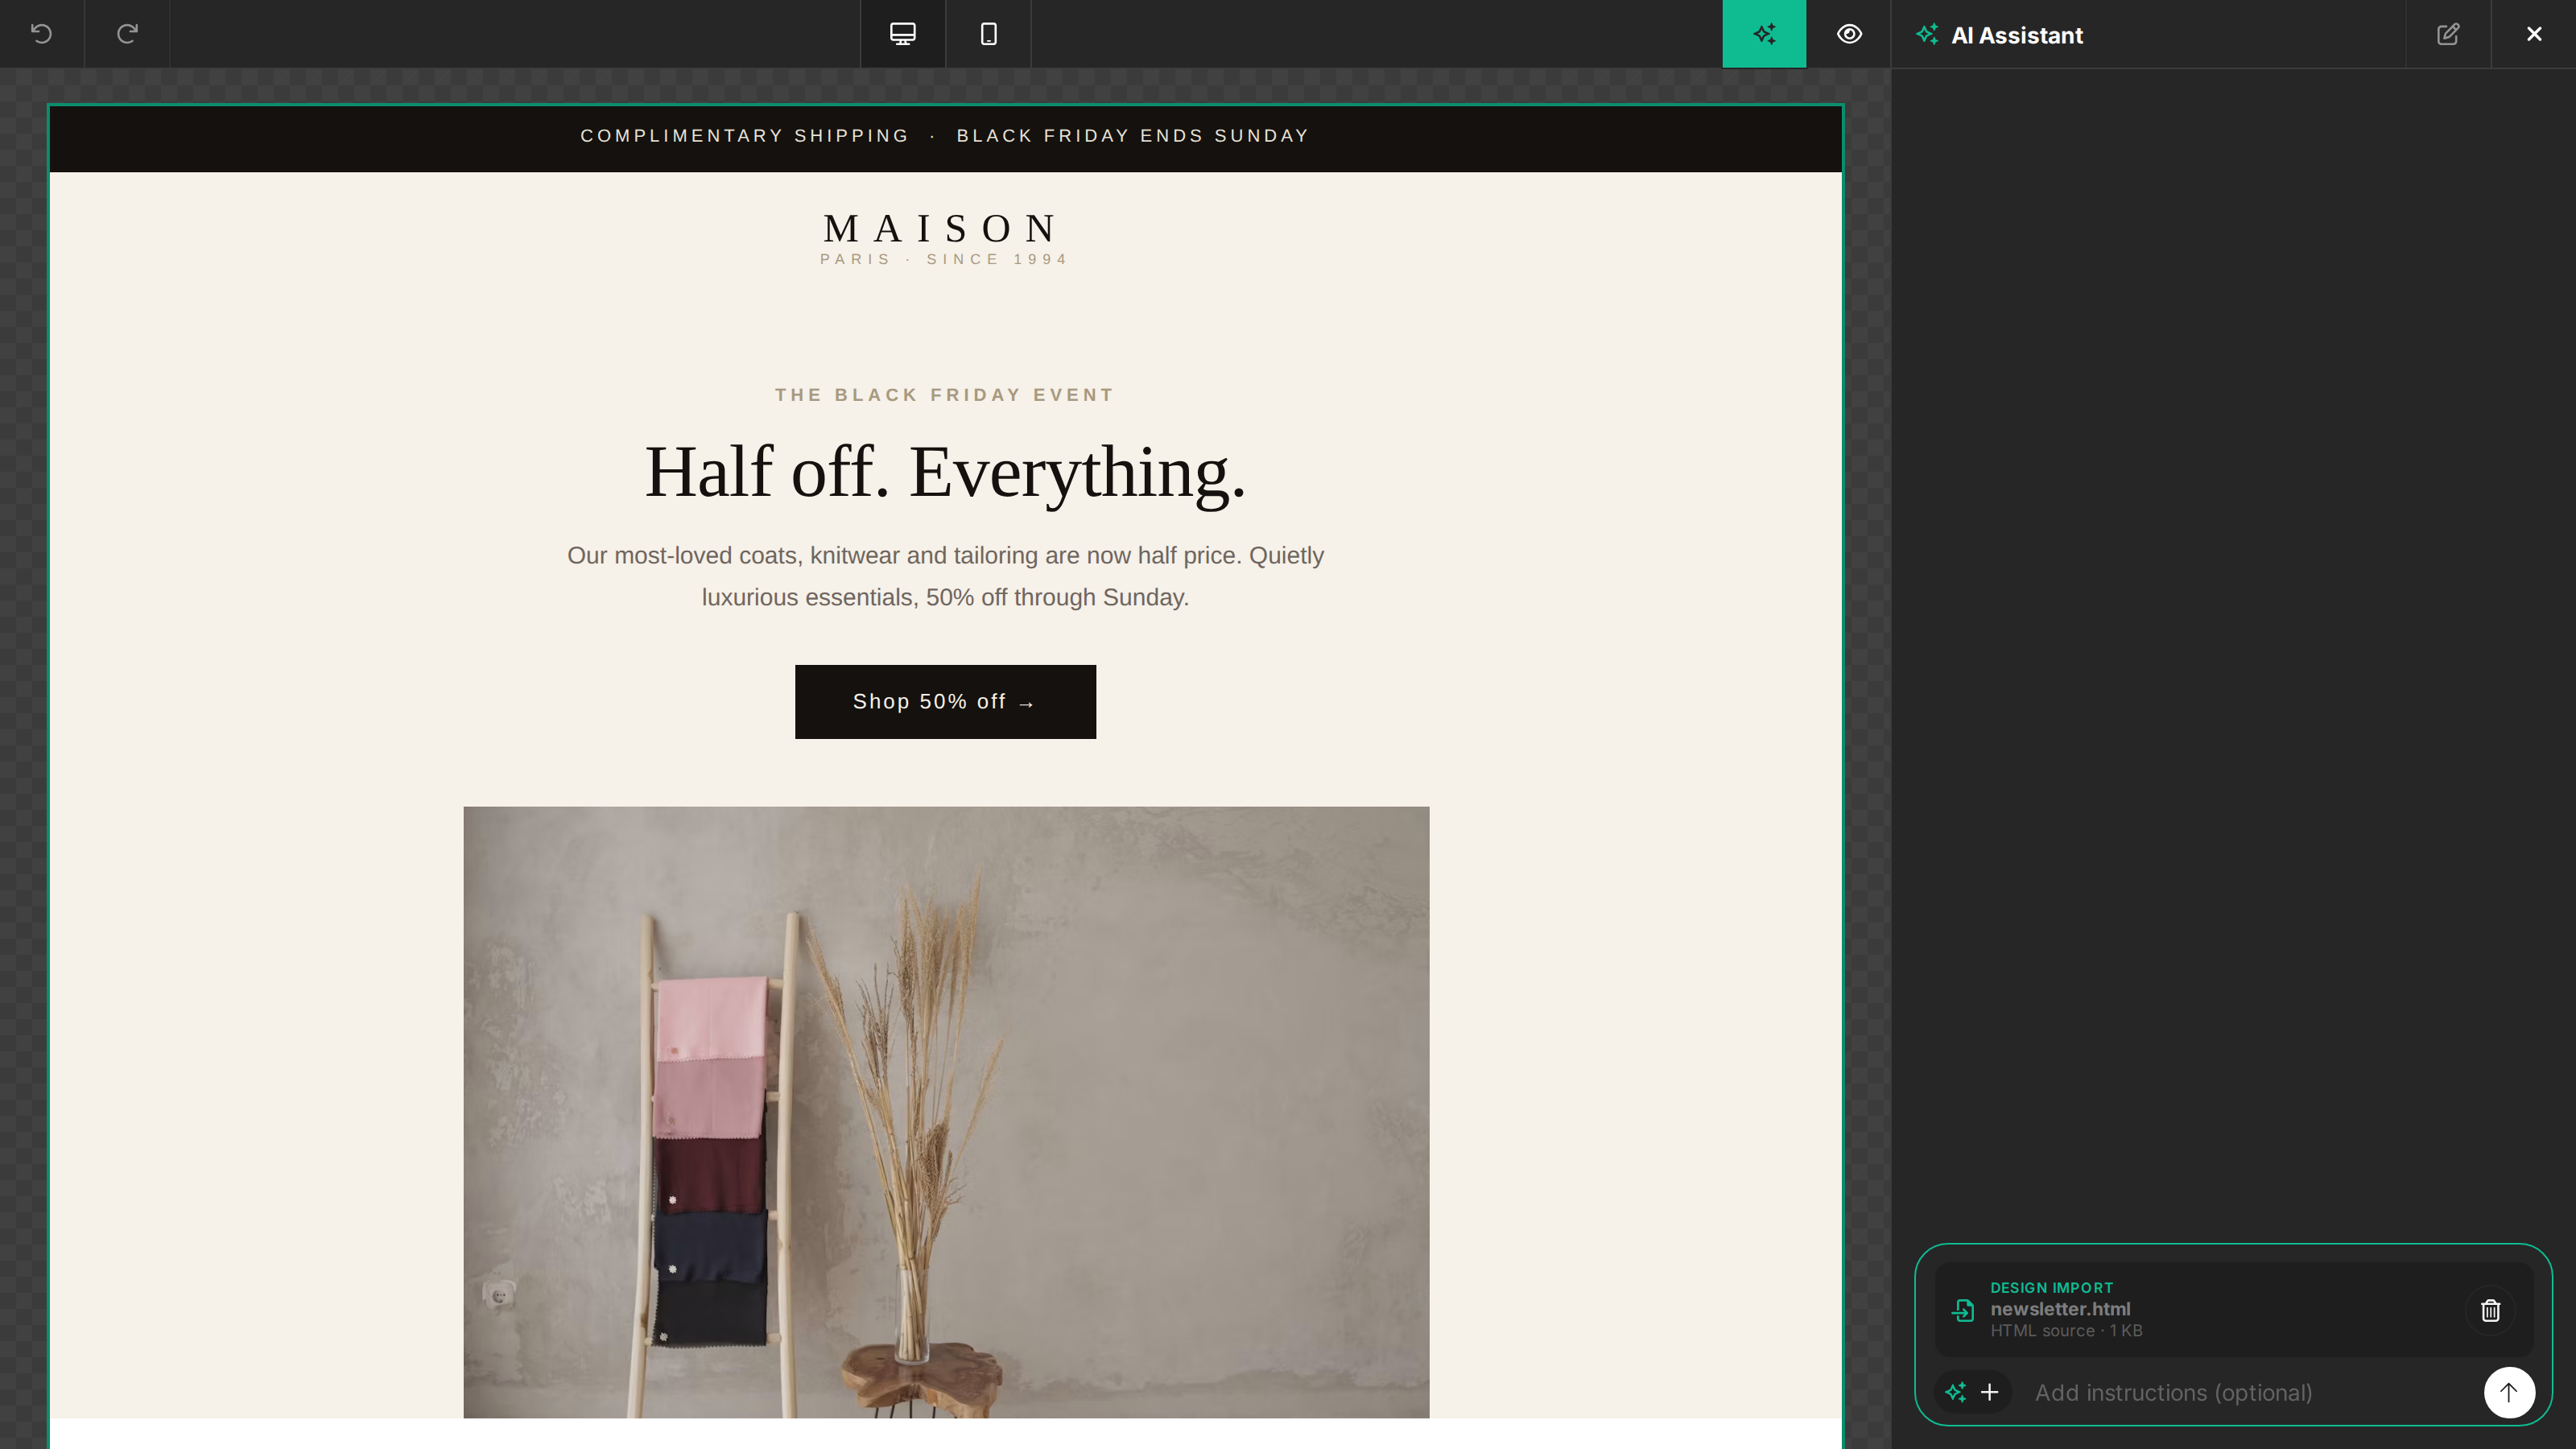
- Choose a supported HTML or image file up to 5 MB. The file appears as a Design import attachment in the prompt composer, labeled with its source type and size.
- Optionally describe how the Assistant should recreate or adapt the source, then send the attachment. If the canvas already contains content, confirm the replacement in the conversation.
- The Assistant reports progress in the chat and lets the end-user stop or retry the import. A successful import replaces the canvas in one undoable change.
Choosing Cancel at the replacement confirmation keeps the current design and records that no import was started. This pre-request choice does not emit any AI Assistant lifecycle callback; callback guarantees, including ai:assistant:on:cancel, begin only after the end-user clicks Replace design and ai:assistant:on:request fires.
Combine HTML with photos or use it as inspiration
With the embedded importer enabled, + → Add files accepts HTML and image references together. You can also drop them anywhere over the Assistant panel. Add a prompt such as “Keep my current copy, borrow the colors from this HTML, and use image #1 as the hero.” For a complete rebuild, say “Recreate this HTML using the attached photos.”
This runs as a normal Assistant conversation and uses its existing undo history and credits. It does not automatically start the separate importer or replace the design just because an HTML file was attached. A single HTML attachment submitted without instructions or images starts an import instead, with replacement confirmation when the canvas already has content. Use the explicit import action above when the source should be converted directly.
The reference draft accepts up to three non-empty HTML files totaling 5 MB, plus up to six images totaling 10 MB. Normal image upload limits and configuration still apply. See image attachments and storage for details.
Credits & limits
Each import uses the workspace's AI credit allowance, shared by every project and AI feature in that workspace. You don't need separate importer credits.
What an import costs
Because the importer builds a complete template, an HTML or image import usually uses hundreds to a couple thousand credits. The exact amount depends on:
- How large the source is. Longer emails and denser screenshots take more work to rebuild.
- Whether you import HTML or an image. Image imports tend to cost a bit more, since the importer reads the design visually.
For your plan's included credits, available credit packs, and pricing details, see the pricing page.
If you run out of credits
If the workspace has used its AI credits for the current monthly window, the importer will let you know before running. From there you can:
- Wait for your credits to reset at the start of your next billing period.
- Add a credit pack anytime from Console → Billing → Add-ons to keep going right away.
- Upgrade your plan for a larger built-in allowance.
If your plan doesn't include AI features at all, the AI Template Importer button won't appear — upgrade your plan to enable AI tools.
Where to see your usage
All AI activity — imports, the AI Assistant, and other AI features — shows up together in your project's Usage Insights view in the console as a single AI credits total, so you always know where you stand against your allowance. This workspace-level accounting is separate from any importer allowance maintained by your application.
Help us make it better
After each import from the Console, you'll have a chance to rate how the result turned out. Ratings are not currently shown for imports started inside the embedded builder. Console ratings and comments go straight to our team and directly shape how the importer improves over time — it's the fastest way to flag a layout that didn't quite work, a color that came out off, or something missing entirely.
For broader feedback or recurring quality issues across many templates, reach out to your account manager or Unlayer support.
Tips & things to know
A few things that help you get the best results:
- Imports always create a full template. If you'd like to edit just one section of an existing design, the AI Assistant inside the builder is a better fit.
- 5 MB file limit. If your HTML or screenshot is too large, try compressing the image or removing unused sections from the HTML.
- Embedded images are re-hosted. Some HTML files carry their images inside the file as base64 data, for example pages saved with a single-file page saver or exported that way by a site builder. The importer extracts PNG, JPEG, GIF and WEBP images, stores each one as a regular hosted image, and links it from the new template, so it displays in email clients that block embedded images. Images are stored where your other editor image uploads go: your project's custom file storage when one is configured, otherwise Unlayer's storage. Embedded SVG images are not carried over.
- Embedded fonts are not carried over. Fonts stored inside the HTML file are removed before the AI reads the page, so they don't use up AI credits. The importer still sees the font names in the page's styles. To display a custom font in the new template, add it to your Project Fonts.
- Very long pages may be too large to import. Even within the file limit, a page with a lot of text or markup can exceed what the importer can read in one pass. You'll see "This HTML is too large to import". Remove sections you don't need, or import a screenshot of the design instead.
- Image imports use placeholders. Since screenshots don't carry the original image files, the importer fills image spots with placeholders — you can swap in your real images right in the editor.
- Expect small adjustments. Especially with screenshot imports, the importer gets you most of the way there, but final polish — exact colors, spacing, fonts — is best done with a quick pass in the builder.
- One file at a time. Import templates one at a time. For a larger library, run the importer for each file in turn.
If an import doesn't come out the way you expected, try importing again or with a slightly different source file. Console users can also leave a rating so we can keep improving.
Related
- Pricing — plans, included AI credits, and credit packs.
- Templates — organizing, sharing, and managing your templates.
- AI Assistant events and callbacks — observe importer requests and forward activity to your application.