File Manager
This feature is only available in paid plans. Learn More
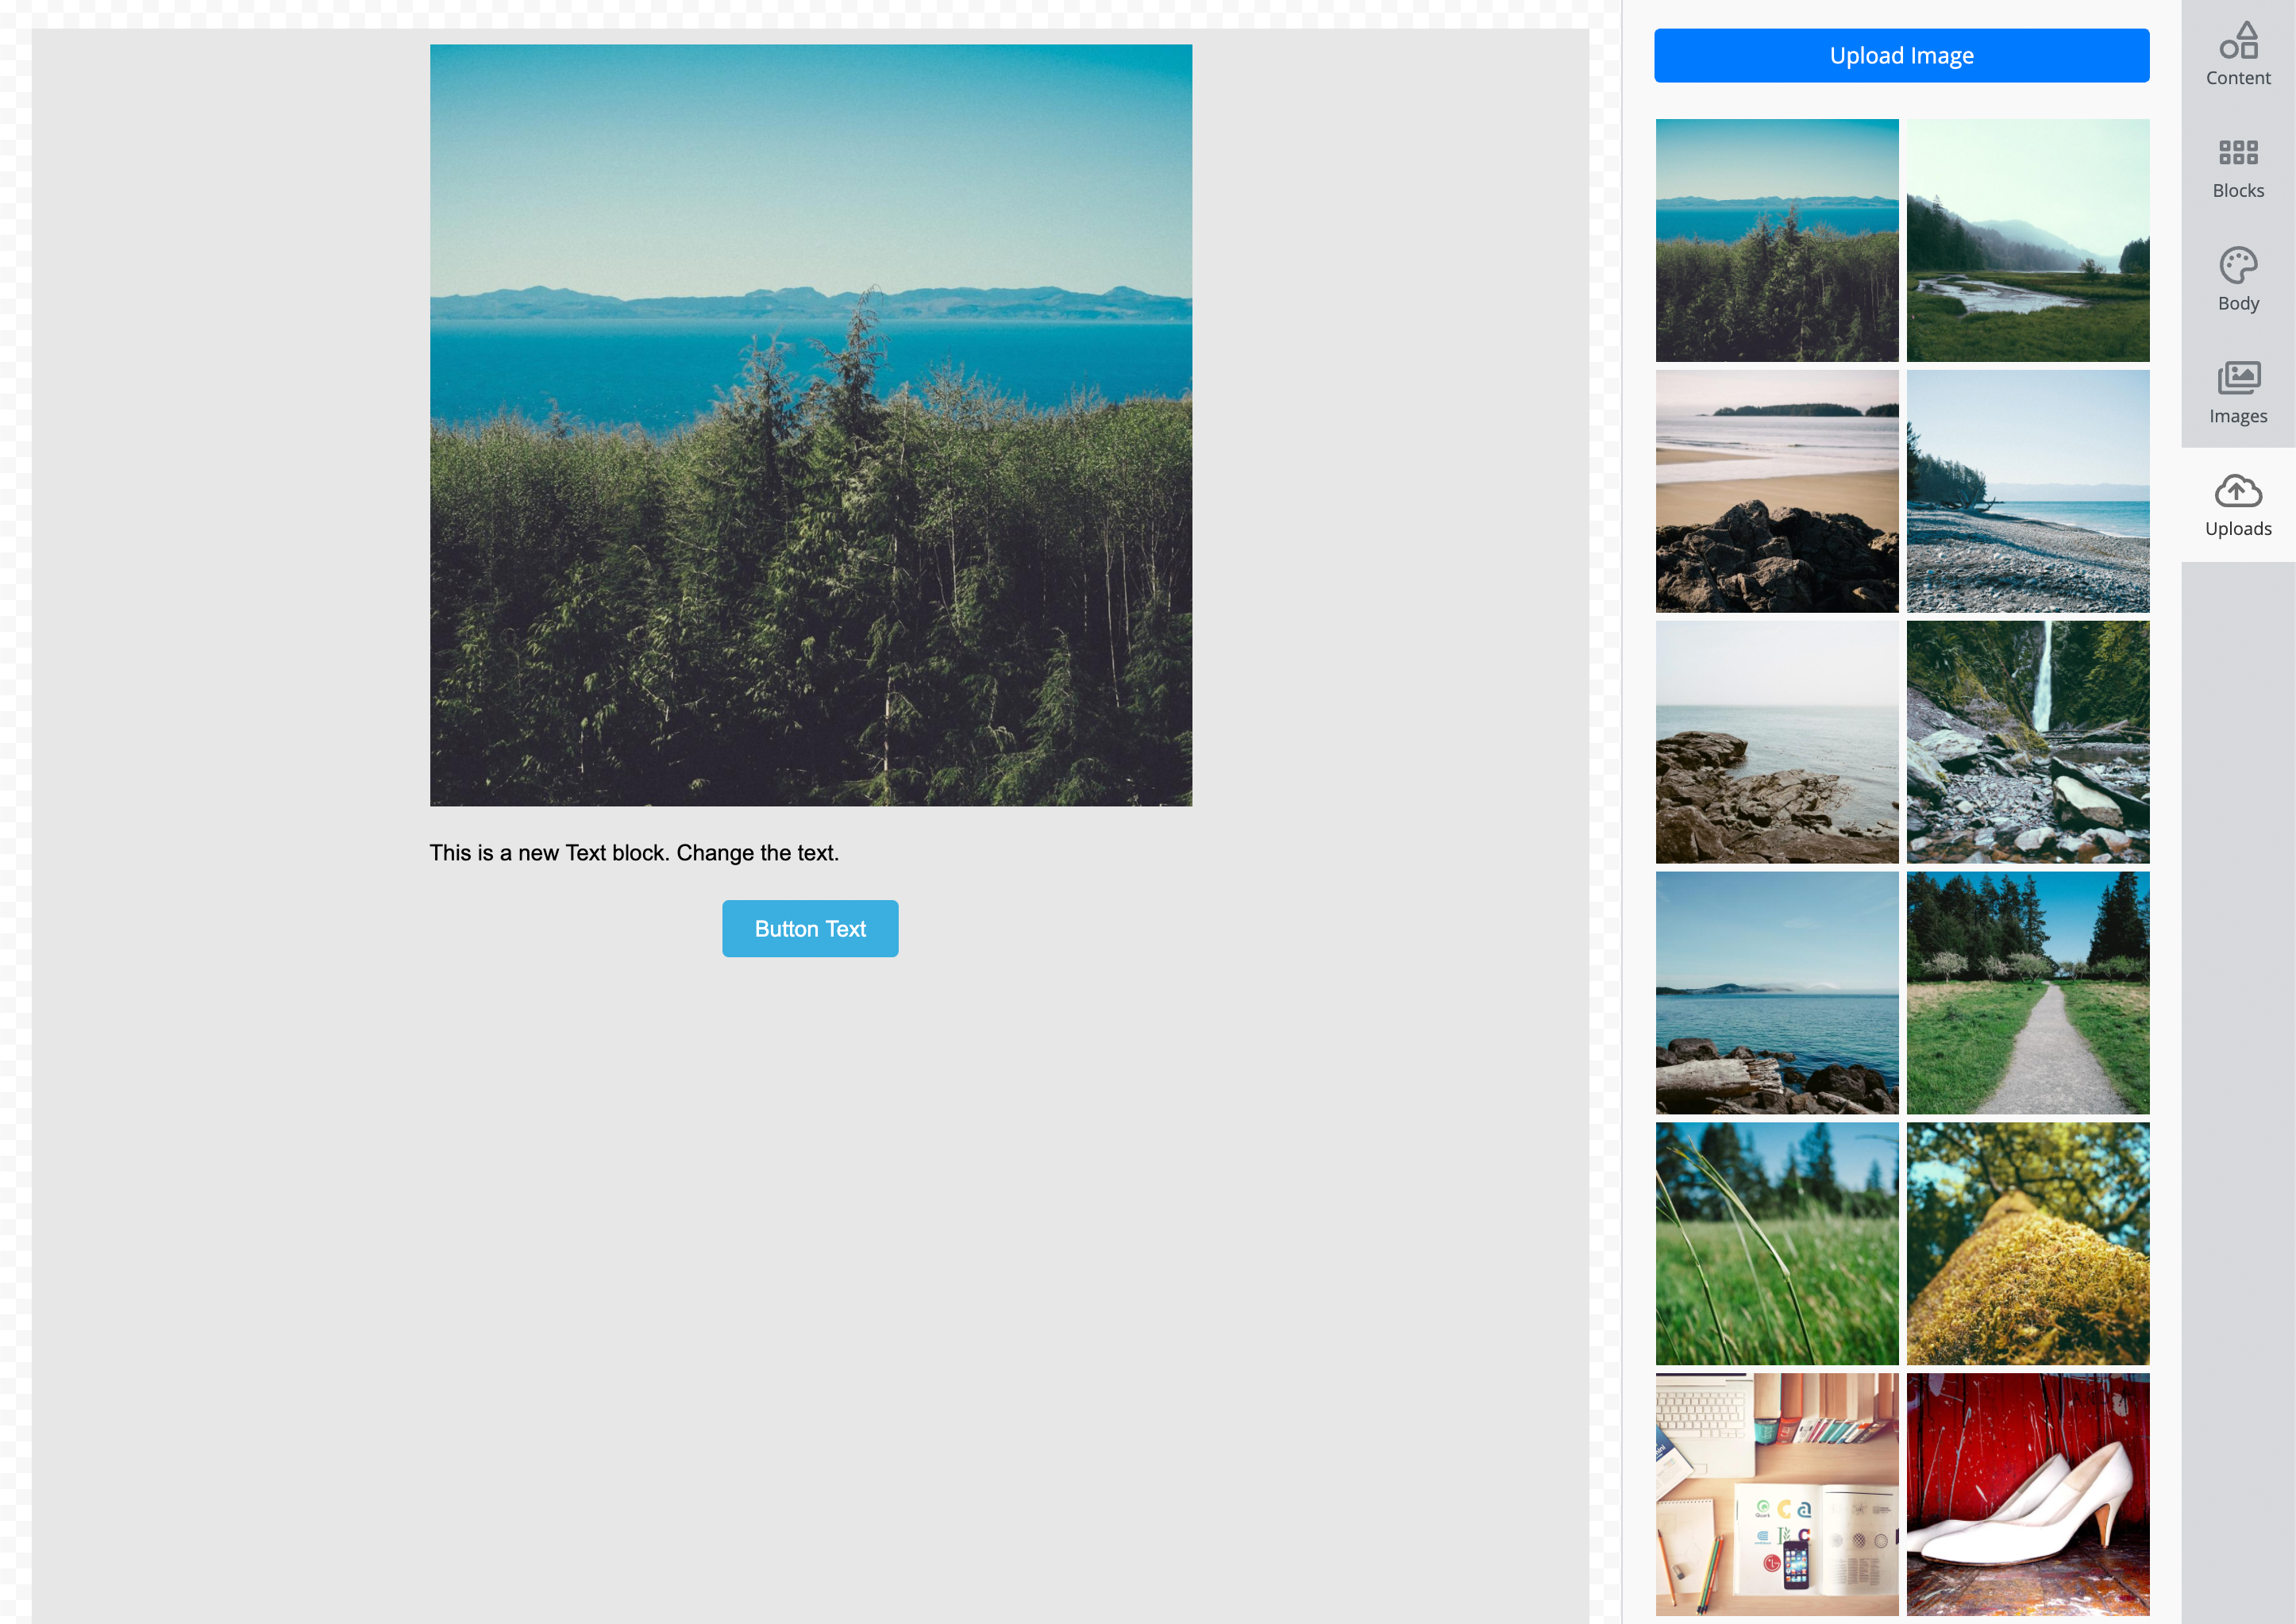
The File Manager feature in the builder allows end-users to upload and manage their own images in a uploads tab. It can also be configured to display images stored on your server.
Enable / Disable Feature
Prerequisites
Before using the File Manager, you need to set up End-User Identification in the builder to correctly identify and associate uploaded images with a specific end-user. This ensures that images uploaded or managed within the builder are tied to the correct user account.
Enable / Disable File Manager
If you do not wish to use the File Manager, you can easily disable it by setting the userUploads feature to false during the builder’s initialization.
unlayer.init({
  features: {
    userUploads: {
      enabled: true,
    },
  },
});
Search Uploads
The File Manager also has the ability for end-users to search their uploaded files easily. This feature is enabled by default but you can choose to disable search if that's what you prefer.
unlayer.init({
  features: {
    userUploads: {
      enabled: true,
      search: true,
    },
  },
});
Custom Database
If your users’ images are already stored in your database, you can configure the File Manager to display those images by using the unlayer.registerProvider API.
Here is an example that shows how to load images from your server and display them in the file manager:
| Attribute | Description |
|---|---|
| id | A unique identifier for the image. |
| location | The URL where the image is stored. |
| width | Image width in pixels. |
| height | Image height in pixels. |
| contentType | MIME type of the image (e.g., image/png). |
| source | Set as user to indicate it’s a user-uploaded image. |
| size | Optional. File size of the image |
You can check out a full example using custom database to load user uploaded images.
unlayer.registerProvider('userUploads', function (params, done) {
  // Load images from your server here...
  var images = [
    {
      id: Date.now() + i,
      location: 'https://picsum.photos/id/1/500',
      width: 500,
      height: 500,
      contentType: 'image/png',
      source: 'user',
    },
    {
      id: Date.now() + i,
      location: 'https://picsum.photos/id/2/500',
      width: 500,
      height: 500,
      contentType: 'image/png',
      source: 'user',
    },
  ];

  done(images);
});
Saving Uploads
If you want to save the reference to uploaded images from the builder to a custom database so you can send it to the File Manager, you will have to use the image:uploaded event. You can do it like this:
unlayer.addEventListener('image:uploaded', function (data) {
  var image = data.image;
  var url = image.url;
  var width = image.width;
  var height = image.height;

  // Save image info to your custom database here
});
Pagination
The File Manager supports pagination to efficiently load and display large collections of images. To enable pagination, provide the necessary attributes when returning the images from your server.
| Attribute | Description |
|---|---|
| page | The current page number being requested. |
| perPage | The number of images to display per page. |
| total | The total number of images available. |
| hasMore | A boolean indicating whether more images are available for pagination. |
unlayer.registerProvider('userUploads', function (params, done) {
  var page = params.page || 1; // Current page number
  var perPage = params.perPage || 20; // Number of images per page
  var total = 100; // Total number of images available
  var hasMore = total > page * perPage; // Check if there are more images to load

  // Load images for the current page from your server here...
  var images = [];

  // Return the images along with pagination data
  done(images, { hasMore, page, perPage, total });
});
Searching
The File Manager supports searching to efficiently load and display large collections of images. To enable searching, provide the necessary attributes when returning the images from your server.
unlayer.registerProvider('userUploads', function (params, done) {
  var page = params.page || 1; // Current page number
  var perPage = params.perPage || 20; // Number of images per page
  var total = 100; // Total number of images available
  var hasMore = total > page * perPage; // Check if there are more images to load
  var searchText = params.searchText; // The search term

  // Load images that match the search term, for the current page from your server here...
  var images = [];

  // Return the images along with pagination data
  done(images, { hasMore, page, perPage, total });
});
Handling Deletions
End-users can delete their uploaded images from the File Manager. To handle this, you can use the unlayer.registerCallback method to register a callback for the image deletion event. This allows your application to remove the image from your server and synchronize the changes with the builder.
unlayer.registerCallback('image:removed', function (image, done) {
  // image will include id, userId and projectId
  console.log(image);

  // call this when image has been deleted
  done();
});
The image object contains:
- id: The unique identifier of the image.
- userId: The ID of the end-user who uploaded the image.
- projectId: The ID of your project
Once the image is deleted from your server, call the done() function to notify the builder that the image has been removed.